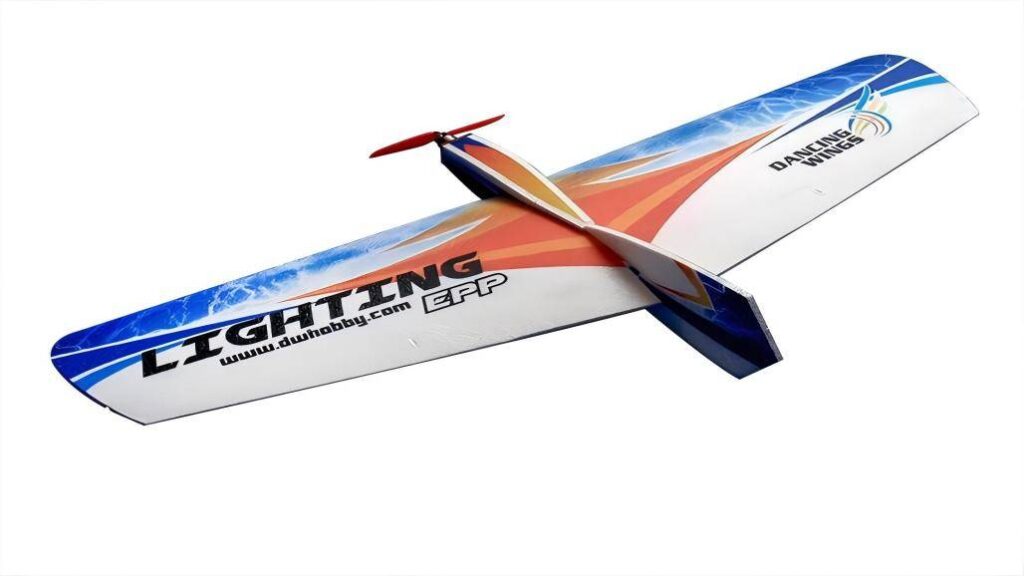
Expanded Polypropylene (EPP) is a popular material for model airplanes due to its durability, lightweight nature, and flexibility.
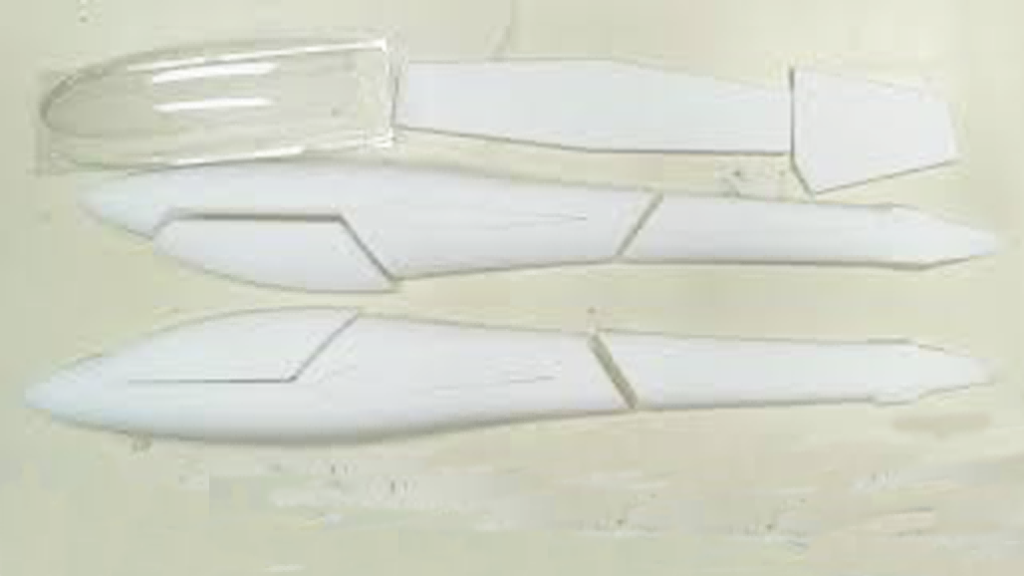
However, after the molding process, EPP airplanes often have mold marks or imperfections that need to be addressed for a smooth and clean finish.
Removing these mold marks is essential to achievi ng a professional and high-quality appearance.
This comprehensive guide will walk you through the steps and techniques needed to effectively remove mold marks from EPP airplanes.
What is EPP?

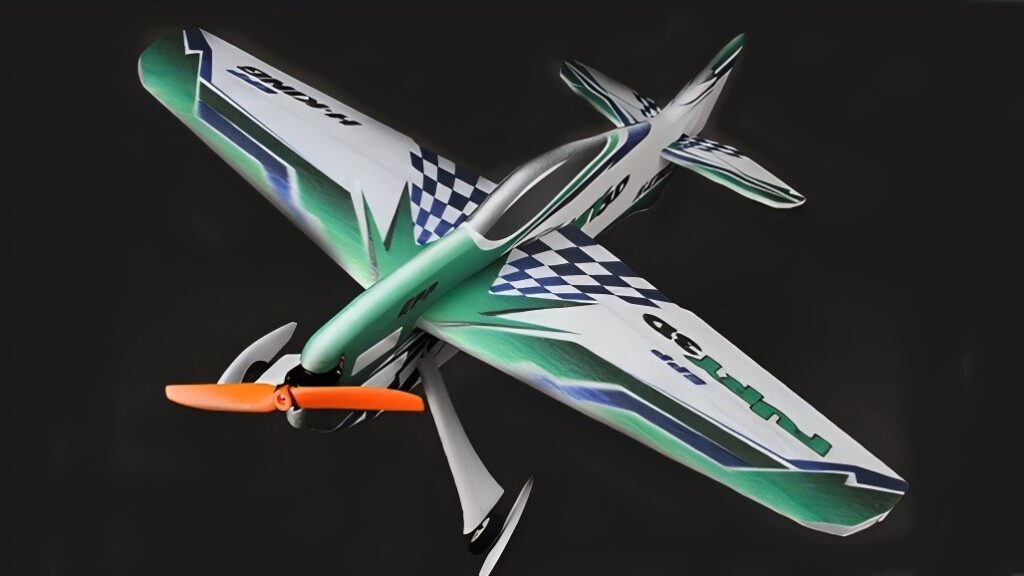
Expanded Polypropylene (EPP) is a type of foam material known for its exceptional impact resistance, flexibility, and lightweight properties.
It is commonly used in the construction of model airplanes, especially in the hobbyist community.
EPP is favored for its durability and ease of repair, making it an ideal choice for building and flying model aircraft.
Why Remove Mold Marks?
Mold marks are imperfections left on the surface of EPP airplanes from the molding process.
These marks can detract from the appearance of your model and affect its aerodynamic performance.
Removing these marks ensures a smooth surface, improves the aesthetic appeal of the airplane, and can enhance its flight performance.
Tools and Materials Required
Specialized Cleaning Agents
Specialized cleaning agents play a crucial role in removing mold marks from EPP airplanes.
One commonly used cleaning agent is the mold and mildew remover, which is specifically formulated to target and eliminate mold growth.
Another effective option is the multi-purpose cleaning spray that can break down the mold residue and dirt.
These cleaning agents not only remove the visible mold marks but also prevent the reoccurrence of mold in the future.
Cleaning Tools
When it comes to cleaning tools, brushes and cloths are indispensable.
Soft-bristle brushes are ideal for gently scrubbing the mold marks without causing damage to the EPP surface.
Microfiber cloths, on the other hand, are excellent for wiping away the loosened dirt and residue.
Additionally, toothbrushes can be used to reach tight and hard-to-access areas.
For larger surfaces, a larger brush or a cleaning pad can be employed to ensure thorough cleaning.
Gentle Scrubbing
When scrubbing the mold marks on the EPP airplane surface, it is essential to be extremely gentle.
Use a soft-bristle brush and apply light pressure in circular motions.
Avoid using excessive force as it can cause scratches or deformations on the delicate EPP material.
Start from the outer edges of the mold marks and gradually work your way towards the center to ensure a uniform cleaning effect.
Chemical Application
The correct dosage and application method of cleaning chemicals are crucial for effective mold mark removal without causing harm.
For most specialized mold and mildew removers or multi-purpose cleaning sprays, it is recommended to follow the manufacturer’s instructions precisely.
Generally, a small amount of the chemical should be sprayed onto a microfiber cloth or directly onto the affected area, but not in excessive amounts to prevent chemical damage.
Always test the chemical on a small, inconspicuous area of the airplane first to ensure no adverse reactions occur.
Drying and Inspection
After cleaning, the drying process is of significant importance. Air drying is often the safest option.
Place the airplane in a well-ventilated area away from direct sunlight and heat sources.
This helps prevent warping or damage to the EPP.
To inspect for complete mold mark removal, use a magnifying glass or a bright light to carefully examine the surface.
Pay close attention to corners, crevices, and previously affected areas.
Any remaining mold marks or residue should be addressed with additional cleaning or treatment.
Regular inspection after the cleaning process is also advisable to ensure the mold marks do not reappear over time.
Preparing for the Process
Safety Precautions
Before beginning the removal process, ensure you follow these safety precautions:
– Work in a Well-Ventilated Area: To avoid inhaling fumes from cleaning solutions or paints.
– Wear Protective Gear: Such as gloves and safety goggles, to protect your hands and eyes.
– Avoid Open Flames: EPP is flammable, so keep any heat sources away from your workspace.
Preparing Your Workspace
Set up a clean, well-lit workspace to handle your EPP airplane. Cover your work surface with a protective layer to catch any dust or debris.
Ensure you have all your tools and materials within reach for efficiency.
Techniques for Removing Mold Marks
Mechanical Methods
Mechanical methods involve physically sanding or scraping away mold marks. Here’s how to use these techniques effectively:
Sanding
1. Select the Right Grit: Start with a medium-grit sandpaper (around 400-grit) and move to a finer grit (600-grit) for a smooth finish.
2. Sand Gently: Lightly sand the surface where the mold marks are present. Avoid applying too much pressure to prevent damaging the foam.
3. Clean the Surface: After sanding, wipe the area with a soft cloth to remove any dust and debris.
Scraping
1. Use a Craft Knife: For deeper mold marks, carefully use a craft knife to scrape away the excess material. Be gentle to avoid cutting into the foam.
2. Trim Carefully: Make shallow, controlled cuts to gradually remove the imperfections.
Chemical Methods
Chemical methods involve using solutions to dissolve or soften mold marks. Use these methods with caution:
Cleaning Solutions
1. Prepare the Solution: Mix a mild detergent with water or use a specialized foam cleaner.
2. Apply the Solution: Dampen a soft cloth with the solution and gently rub the affected areas.
This can help to remove surface residues and light marks.
3. Rinse and Dry: Rinse the area with clean water and allow it to dry completely before proceeding.
Plastic Filler
1. Apply the Filler: For deep indentations, apply a plastic filler designed for foam surfaces.
Follow the manufacturer’s instructions for application.
2. Smooth the Surface: After the filler has dried, sand it smooth with fine-grit sandpaper.
Heat can be used to soften and reshape the surface of EPP foam
Hot Air Gun
1. Heat the Area: Use a hot air gun to gently warm the surface of the foam. Be careful not to overheat or scorch the material.
2. Smooth Out Marks: Once the surface becomes pliable, use a soft cloth or your fingers to smooth out the mold marks.
3. Cool and Inspect: Allow the foam to cool and harden. Inspect the area and repeat if necessary.
Finishing Touches
After removing mold marks, ensure the surface is completely smooth:
1. Final Sanding: Use very fine sandpaper (800-grit or higher) for a final pass to achieve a polished finish.
2. Clean the Surface: Wipe down the area to remove any remaining dust.
Painting and Coating
To enhance the appearance and protect the surface, apply a primer and paint:
1. Apply Primer: Use a foam-safe primer to prepare the surface for painting. This helps with adhesion and provides a uniform base.
2. Paint: Apply acrylic or water-based paint suitable for EPP foam. Use light, even coats and allow each layer to dry before applying the next.
3. Add a Clear Coat: For additional protection and a glossy finish, apply a clear coat.
Preventive Measures
Proper Storage
Storing the EPP airplane in a dry and well-ventilated area is essential.
Moisture can contribute to mold growth, so avoiding damp places like basements or garages without proper ventilation is crucial.
Using storage containers or bags that are moisture-resistant can also provide an added layer of protection.
Regular Inspection
Regularly inspect the airplane for any signs of mold or moisture. This should be done at least once a month.
Early detection allows for prompt cleaning and treatment, minimizing the potential for extensive mold marks to form.
Avoiding Moisture Exposure
Keep the airplane away from sources of moisture such as water spills or high humidity environments.
If the airplane gets wet, dry it thoroughly as soon as possible to prevent mold from developing.
Applying Protective Coatings
Applying a thin protective coating designed for EPP materials can help prevent mold marks.
These coatings often have anti-microbial properties that inhibit mold growth.
However, it’s important to choose a coating that is compatible with the EPP and follow the application instructions carefully.
Troubleshooting Common Issues
Dealing with Deep Marks
For particularly deep or stubborn mold marks:
1. Use Multiple Layers of Filler: Apply the plastic filler in layers, allowing each layer to dry before adding the next.
2. Sand Gradually: After applying filler, sand the area gradually to blend it with the surrounding surface.
Preventing Surface Damage
To avoid damaging the EPP surface:
1. Use Proper Tools: Ensure you use appropriate tools and techniques for sanding and shaping.
2. Avoid Excessive Heat: When using a hot air gun, control the temperature to prevent melting or warping.
Air Bubbles and Voids
If you encounter air bubbles or voids in the filler or paint:
1. Apply Thin Layers: Apply filler and paint in thin layers to minimize bubble formation.
2. Smooth Out Bubbles: Use a brush or tool to gently smooth out any bubbles before the material dries.
Maintenance Tips
Regular Cleaning and Care
To keep your EPP airplane in top condition:
1. Clean Regularly: Wipe down the surface with a soft, damp cloth to remove dust and debris.
2. Inspect for Damage: Regularly check for any new mold marks or surface damage and address them promptly.
Storage Recommendations
Proper storage can prolong the life of your EPP airplane:
1. Store in a Cool, Dry Place: Avoid exposing your airplane to direct sunlight or extreme temperatures.
2. Use Protective Covers: Cover your airplane with a protective cloth or case to prevent accidental damage.
Conclusion

Recap of Key Steps
To effectively remove mold marks from EPP airplanes:
1. Prepare Your Workspace: Ensure safety and organization.
2. Choose the Right Method: Utilize mechanical, chemical, or heat-based techniques based on the severity of the mold marks.
3. Apply Finishing Touches: Sand, prime, and paint the surface to achieve a smooth and polished look.
4. Maintain Regularly: Keep your airplane clean and inspect it regularly for any damage.
Final Tips for Success
– Be Patient: Allow sufficient time for each step to ensure the best results.
– Test on a Small Area: Before applying any method to the entire surface, test on a small, inconspicuous area.
– Seek Expert Advice: If you encounter persistent issues, consider seeking advice from experienced model builders or foam experts.
Proper storage, regular inspection, avoiding moisture exposure, and applying protective coatings are all integral parts of keeping the EPP airplane clean and mold-free.
It is important to remember that neglecting mold marks or failing to implement these maintenance practices can lead to more significant damage and potentially compromise the safety and functionality of the airplane.
Therefore, making maintenance a routine part of owning an EPP airplane is essential.