The basic principle of foam mold making is to use specific materials and processes to create molds with specific shapes and structures to meet the needs of tool storage.
Usually, this involves processing foam materials into the required shape, cutting, carving, shaping, etc., so that it can perfectly match the tools to be stored.
What is Foam Molds
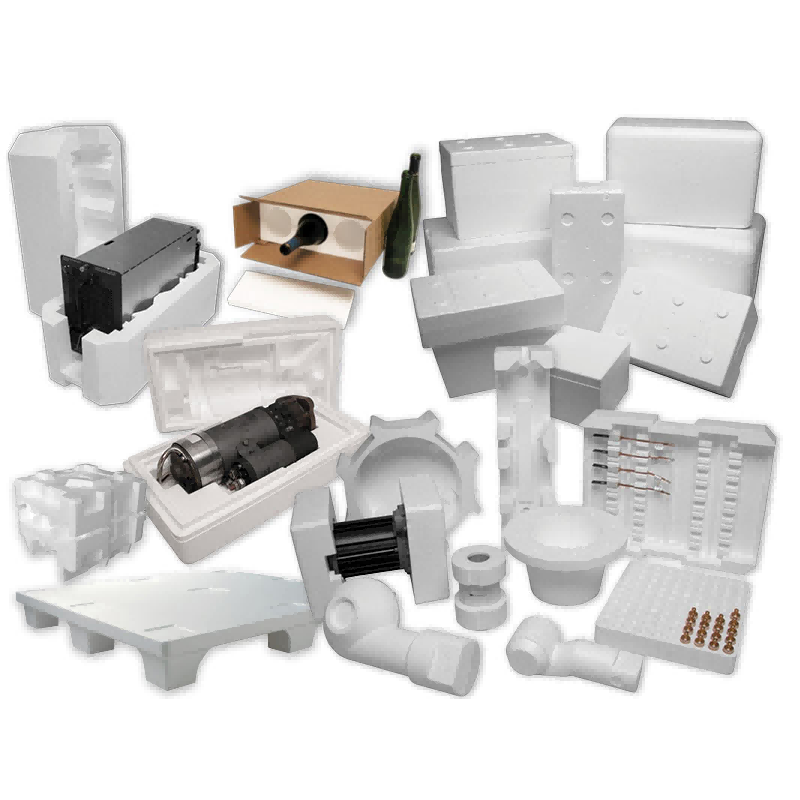
Foam molds are custom inserts made from foam materials that fit into toolboxes, drawers, or cases.
They offer a tailored solution for storing tools securely, preventing them from shifting or getting damaged.
Foam molds are particularly useful for protecting delicate tools and keeping everything neatly arranged.
Benefits of Foam Molds
– Protection: Foam molds cushion your tools, protecting them from scratches and impacts.
– Organization: Custom-cut foam inserts help keep your tools organized and easy to find.
– Efficiency: Saves time by ensuring tools are always in their designated place.
– Customization: Allows you to create specific compartments for each tool, maximizing space usage.
Materials Needed and Tools Preparation

To make a foam mold, you’ll need:
– Foam Sheets: Polyethylene (PE) foam or polyurethane (PU) foam are commonly used. Choose the thickness based on the size of your tools and the depth of the storage area.
– Sharp Utility Knife or Hot Wire Cutter: For precise cutting.
– Ruler and Measuring Tape: To measure and mark foam accurately.
– Pen or Marker: For marking measurements on the foam.
– Adhesive: Foam-specific adhesive or double-sided tape for securing the foam.
Selecting the Right Foam Materials
When choosing the appropriate foam materials for tool storage molds, several key characteristics and quality considerations come into play.
Polyurethane foam is a popular choice due to its excellent shock absorption and durability.
It can withstand the weight and impact of tools, protecting them from damage.
Another option is expanded polystyrene foam, which offers good insulation properties and is lightweight.
The density of the foam is crucial – a higher density provides better support and longevity.
Additionally, look for foam that is resistant to moisture and chemicals, as this ensures the longevity of the mold in various storage environments.
Quality checks should include examining the foam for uniform cell structure, absence of defects or cracks, and compliance with industry standards.
Essential Tools and Their Functions
The essential tools for creating a foam mold for tool storage include a hot wire foam cutter, which is used to precisely shape the foam.
It allows for clean and controlled cuts, giving the mold its desired form.
A carving knife or chisel is handy for fine detailing and adjustments.
A sanding block helps smooth out the surface of the foam, ensuring a finished look and preventing any rough edges that could potentially damage the tools.
Measuring tools such as rulers and calipers are necessary for accurate sizing and ensuring the mold fits the tools perfectly.
A glue gun is used to attach different pieces of foam together or to reinforce certain areas.
Finally, a protective mask and safety goggles are essential to safeguard the worker from any debris or fumes during the fabrication process.
Design and Planning
Understanding Tool Storage Requirements
This involves considering the types, sizes, and quantities of tools that need to be accommodated.
Measuring the dimensions of the largest and most frequently used tools helps determine the minimum size of the mold.
The number of tools and their organization patterns dictate the number and size of compartments or slots within the mold.
For instance, if there are a set of frequently used hand tools like wrenches and screwdrivers, separate compartments with appropriate widths and depths need to be planned.
Additionally, the weight and fragility of the tools play a role in deciding the thickness and density of the foam used.
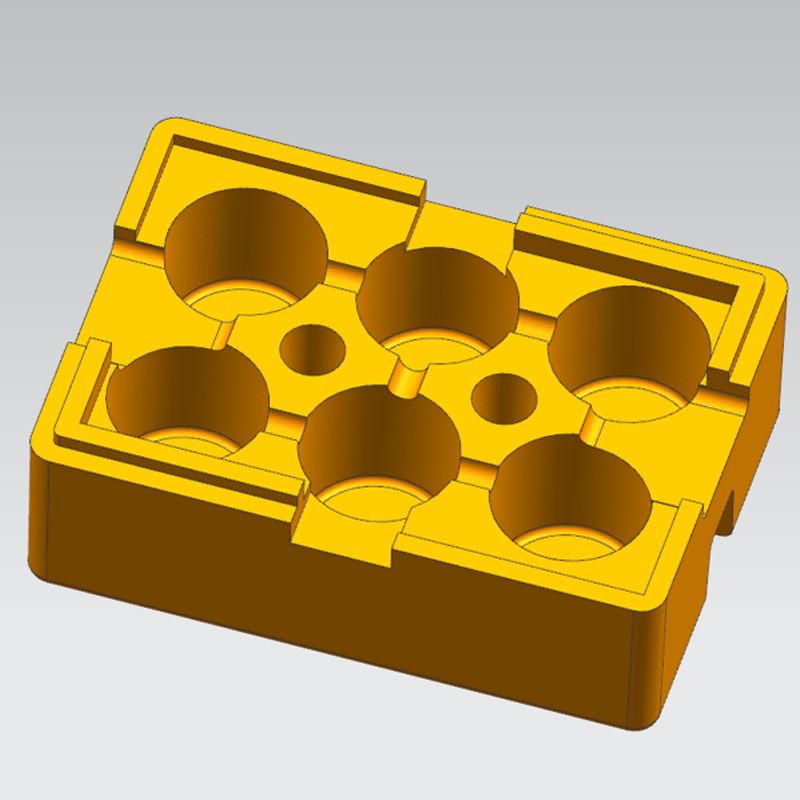
Drafting the Mold Design
The first step in drafting the mold design is to sketch out the basic shape on paper or using digital design software.
Start by visualizing the overall layout of the tools and how they will fit together within the mold.
Consider the shape of the storage container or area where the mold will be placed to ensure a seamless fit.
For the shape of the mold itself, it could be rectangular, circular, or custom-shaped depending on the available space and the nature of the tools.
The partition planning is crucial; draw lines to divide the mold into distinct sections for each tool or group of similar tools.
Mark the dimensions and angles precisely to ensure accuracy in the final product. Include details such as notches or grooves for better tool stability.
Production steps
Measure Your Storage Area
Begin by measuring the interior dimensions of the storage area where the foam mold will be placed.
Accurate measurements are crucial for a perfect fit. Measure the length, width, and depth of the toolbox, drawer, or case.
Plan Your Layout
Determine the layout of your tools within the storage area. Arrange your tools in a way that maximizes space and accessibility.
Sketch a rough design of the foam mold, indicating where each tool will be placed.
Cut the Foam
1. Mark the Foam: Use a ruler and pen to mark the foam sheet according to your measurements. For precision, draw your layout directly onto the foam.
2. Cut the Foam: Carefully cut the foam using a sharp utility knife or hot wire cutter.
If using a utility knife, make sure to use a cutting mat underneath to protect your work surface.
For intricate cuts, a hot wire cutter is more effective.
Test Adjust
Place the foam mold in your storage area and test-fit your tools.
Check for any tight spots or areas where the tools might not fit properly.
Make necessary adjustments by trimming the foam or refining the compartments.
Secure the Foam
Once you are satisfied with the fit, secure the foam in place using adhesive or double-sided tape.
Ensure that the foam is firmly attached to the bottom of the storage area and that it doesn’t shift.
Tips for Foam Mold
– Use a Sharp Cutting Tool: A sharp blade will provide cleaner cuts and more accurate compartments.
– Work Slowly: Take your time to ensure precise measurements and cuts.
– Test Fit Frequently: Regularly check the fit of your tools to avoid making the foam mold too tight or too loose.
– Consider Layering: For deep storage areas, consider using multiple layers of foam to achieve the desired depth and protection.
Maintenance and Care
Foam molds are durable but may require occasional maintenance. Here’s how to keep them in good condition:
– Clean Regularly: Use a soft brush or vacuum to remove dust and debris from the foam.
– Inspect for Wear: Check for any signs of wear or damage and replace the foam if necessary.
– Avoid Moisture: Keep the foam dry to prevent mold growth or degradation.
Alternatives to Foam Molds
If foam molds aren’t suitable for your needs, consider these alternatives:
– Custom Tool Organizers: Pre-made organizers designed to fit specific tools and storage areas.
– Pegboards: A versatile storage solution for tools that can be customized with various hooks and shelves.
– Drawer Dividers: Adjustable dividers that can help organize tools in drawers without custom foam molds.
Importance
Foam molds are of great importance in tool storage.
First, it can provide customized storage space for tools, ensure the safe storage of tools, and reduce the risk of collision and damage.
Secondly, foam molds can optimize the utilization efficiency of storage space, so that limited space can accommodate more tools.
Furthermore, through precise mold design, it can facilitate the access and return of tools, and improve work efficiency.
For example, in some professional tool workshops, carefully made foam molds can greatly shorten the time of finding and sorting tools, thereby improving the smoothness of the entire workflow.
Quality Assurance and Maintenance
Inspecting for Defects
To inspect for defects in the foam mold, a meticulous examination is necessary.
Start by visually inspecting the surface for any cracks, dents, or uneven areas.
Use a bright light to illuminate the mold from different angles to spot any hidden flaws.
Check for proper fit and alignment of the compartments or slots intended for the tools.
Inspect the edges and corners for sharpness or roughness that could potentially damage the tools or the user.
Run your fingers along the surface to feel for any irregularities.
Additionally, measure the dimensions of the mold using precise tools like calipers to ensure they match the design specifications.
Any deviations could indicate a defect that needs to be addressed.
Proper Storage and Maintenance Tips
Proper storage and maintenance of the foam mold are essential for extending its lifespan.
Store the mold in a dry and cool place, away from direct sunlight and excessive heat, as these can cause the foam to deteriorate.
Wrap the mold in a breathable fabric or plastic cover to protect it from dust and debris.
When not in use, avoid stacking heavy objects on top of the mold to prevent deformation.
Regularly clean the mold with a soft brush or cloth to remove dirt and debris.
Do not use harsh chemicals or abrasive cleaners as they can damage the foam.
Periodically inspect the mold for signs of wear and tear and address any issues promptly.
If the mold shows signs of damage or degradation, consider repairing or replacing it to ensure its continued functionality for tool storage.
Conclusion
Creating a foam mold for tool storage is a rewarding project that enhances the organization and protection of your tools.
By following these steps, you can ensure that your tools are stored securely and are easily accessible when you need them.
Whether you’re a DIY enthusiast or a professional tradesperson, a custom foam mold can make a significant difference in your tool storage system.
With the right materials and a bit of patience, you’ll have a customized foam mold that keeps your tools safe and well-organized, helping you work more efficiently and effectively.