In the quest for a more energy-efficient, comfortable, and durable home or building, insulationis a necessary consideration.
While fiberglass batts have been the traditional go-to, foam insulation sheets have surged in popularity for their superior performance and versatility.
These rigid panels offer a powerful combination of high thermal resistance, moisture management, and structural strength, making them a top choice for everything from basement walls to exterior sheathing.
If you’re a homeowner planning a renovation, a builder looking for the best materials, or a DIY enthusiast tackling a project, understanding foam board insulation is crucial.
What Are Foam Insulation Sheets?
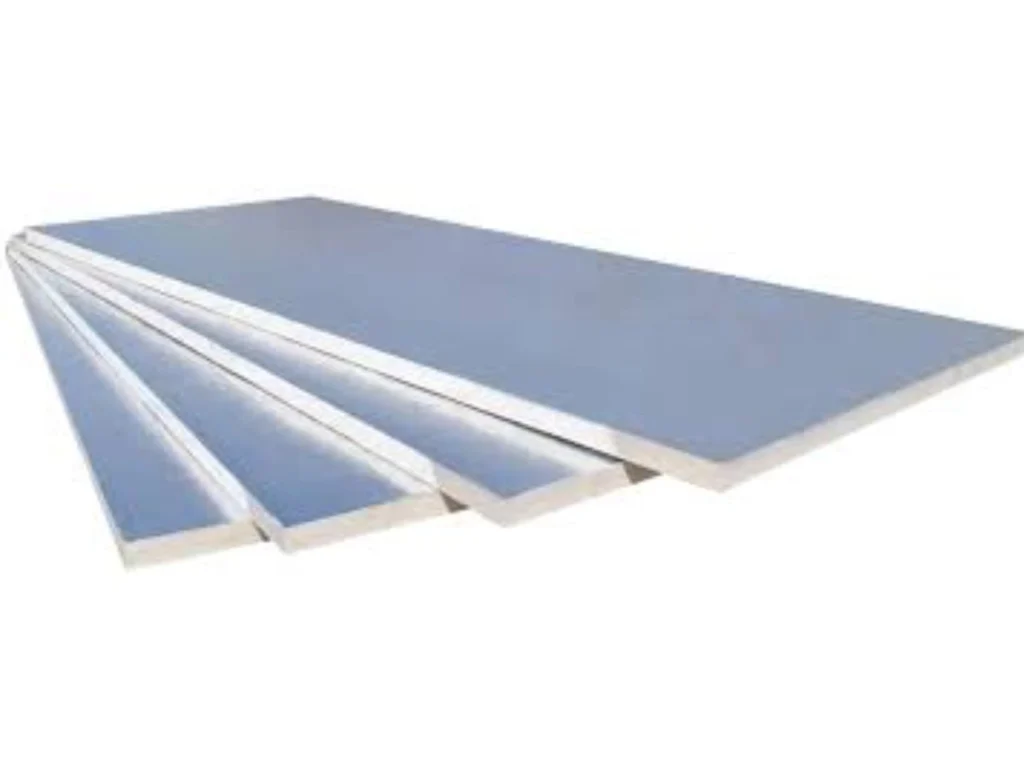
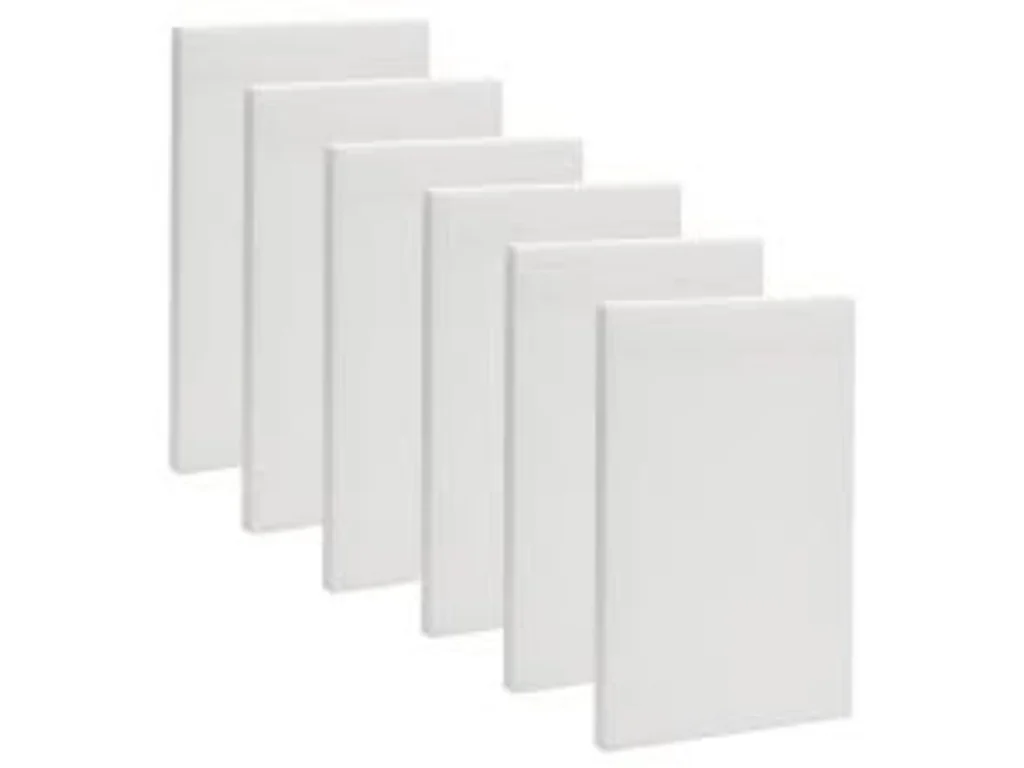
Foam insulation sheets, also known as rigid foam boards or panels, are flat, lightweight panels made from various plastic foams.
Unlike their fluffy fiberglass counterparts, these boards are solid and rigid, providing not only excellent thermal insulation but also adding structural rigidity and acting as a highly effective air barrier.
Their closed-cell structure is the key to their performance. Millions of tiny, sealed air pockets trapped within the foam create a formidable barrier against heat flow and moisture migration.
This makes them exceptionally effective per inch of thickness compared to many other insulation materials.
Common Applications and Uses
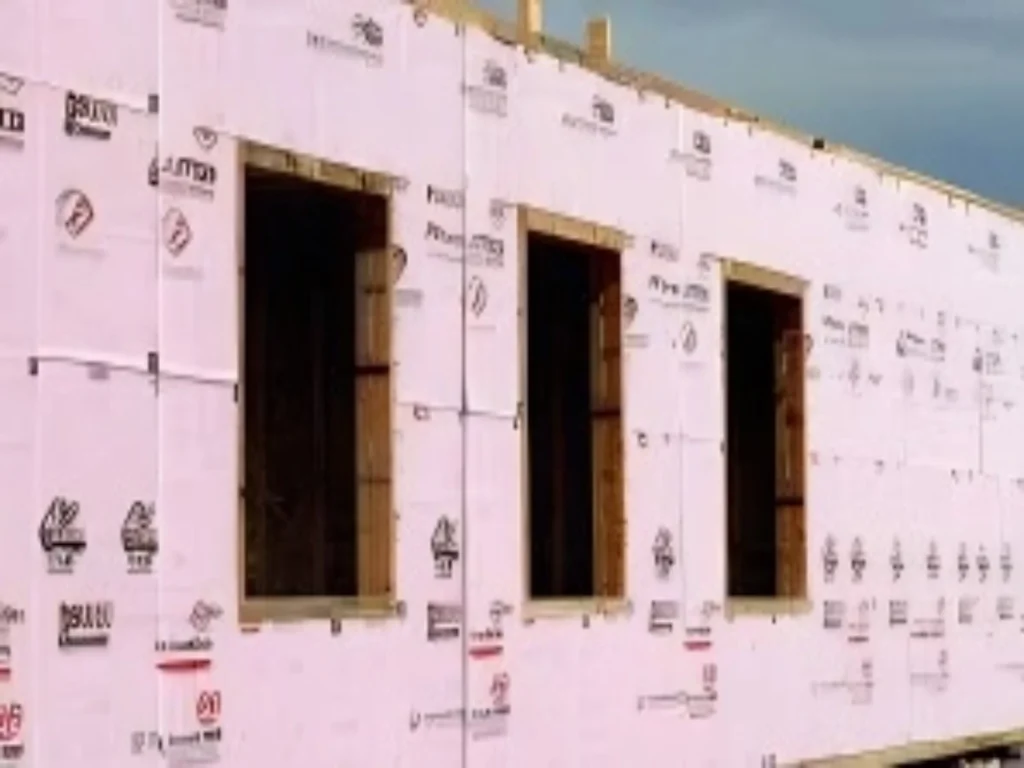
- Exterior Wall Sheathing: Installed over the wall studs but under the siding or brick to create a continuous insulating layer that reduces thermal bridging (heat loss through the wood studs).
- Foundation Insulation: Installed on the outside of basement walls or under slabs to keep the cold from the ground from cooling the living space.
- Roof Insulation: Used in low-slope (“flat”) commercial roofs or as part of a vented/unvented attic assembly.
- Under Siding: A thinner version, often called “insulated siding backer,” is used to boost a wall’s R-value.
- Interior Applications: Can be used to insulate basement walls from the inside (but requires a thermal barrier like drywall over it for fire safety).
Types of Foam Insulation Sheets
Not all foam boards are created equal. The three main types you’ll encounter are XPS, EPS, and Polyiso. Understanding their differences is the first step to making the right choice.
1. Extruded Polystyrene (XPS) – The All-Rounder
Often recognized by its characteristic blue, pink, or green color (from brands like Dow Styrofoam™, Owens Corning FOAMULAR®), XPS is one of the most common and versatile options.
- Manufacturing Process: Made by melting polystyrene crystals and extruding them with a blowing agent, resulting in a consistent, closed-cell structure.
- Key Characteristics:
- R-Value: R-5 per inch. This is the standard benchmark.
- Moisture Resistance: Excellent. It has a very low perm rating, making it highly resistant to water absorption. This is why it’s the go-to for below-grade applications like foundations and under slabs.
- Strength: High compressive strength, meaning it can handle significant weight without deforming (e.g., under a concrete slab).
- Best For: Basement walls, crawlspace walls, under slabs, exterior sheathing on homes with brick or stone veneer.
2. Expanded Polystyrene (EPS) – The Budget-Friendly Choice
This is the familiar white, beaded foam you see in disposable coolers and packaging. In construction, it’s available in higher-density forms.
- Manufacturing Process: Steam is used to “expand” polystyrene beads into molds, which are then fused together.
- Key Characteristics:
- R-Value: R-3.6 to R-4.4 per inch. Its R-value is lower than XPS and can vary depending on the density. Higher-density EPS offers better R-value and strength.
- Moisture Resistance: Good, but not as impermeable as XPS. It can absorb some moisture if submerged or exposed to constant water, which can degrade its insulating value over time.
- Strength: Varies with density. It has good compressive strength but is generally less strong than XPS of the same thickness.
- Best For: Above-grade walls, structural insulated panels (SIPs), low-budget projects, and applications where some drying potential is acceptable.
3. Polyisocyanurate (Polyiso) – The High-Performance Insulator
Polyiso is the top performer in terms of pure thermal resistance and is often faced with foil on both sides.
- Manufacturing Process: A chemical reaction creates a closed-cell foam that is typically laminated to facers like aluminum foil.
- Key Characteristics:
- R-Value: R-6 to R-6.5 per inch (initially). It has the highest initial R-value per inch of any rigid foam. However, it’s important to note that Polyiso uses a gas with a higher thermal resistance than air, which can slowly diffuse out over time (a process called “thermal drift”), settling at a long-term value of around R-5.6 to R-5.7 per inch.
- Moisture Resistance: The foil facers make it an excellent vapor barrier and radiant barrier. The foam itself is also moisture-resistant.
- Strength: Good compressive strength, but the foil facers can be easily damaged.
- Fire Resistance: Generally has a better fire performance rating than XPS or EPS, often featuring a fiberglass or foil facer that acts as a fire barrier.
- Best For: Exterior roof insulation (above the roof deck), commercial buildings, and any application where maximizing R-value in a thin profile is critical.
Comparison Table: XPS vs. EPS vs. Polyiso
| Feature | XPS (Extruded Polystyrene) | EPS (Expanded Polystyrene) | Polyiso (Polyisocyanurate) |
|---|---|---|---|
| R-Value per Inch | R-5 | R-3.6 to R-4.4 | R-6 to R-6.5 (initial) |
| Moisture Resistance | Excellent | Good | Excellent (with foil facers) |
| Compressive Strength | High | Medium to High (density-dependent) | Good |
| Cost | Medium | Lowest | Highest |
| Best Applications | Below-grade, foundations, slabs | Above-grade walls, SIPs, budget projects | Roofs, exterior sheathing (max R-value) |
| Vapor Permeability | Low (vapor semi-impermeable) | Medium (vapor semi-permeable) | Very Low (vapor impermeable with foil) |
Key Benefits of Using Foam Board Insulation
Why choose Foam Insulation Sheets over other types? The advantages are significant:
- High R-Value per Inch: Foam boards provide more insulating power for a given thickness than most other common materials. This is crucial when space is limited, such as in a wall cavity or on the interior of a basement.
- Superior Air Barrier: When seams and edges are properly sealed with tape or caulk, rigid foam creates an excellent continuous air barrier. This prevents drafts and uncontrolled air leakage, which is a major source of energy loss and comfort issues.
- Moisture Resistance: Especially with XPS and foil-faced Polyiso, foam boards resist water absorption, preventing mold growth, rot, and the degradation of insulating value.
- Adds Structural Rigidity: When used as wall sheathing, foam boards can significantly strengthen the building structure, contributing to racking resistance.
- Easy to Handle and Install: The panels are lightweight and can be cut easily with a utility knife, saw, or hot wire cutter (for EPS/XPS). This makes them very DIY-friendly.
Important Considerations and Disadvantages
No building material is perfect. Being aware of the limitations ensures a successful installation.
- Cost: Foam boards are typically more expensive upfront than batt insulation like fiberglass or mineral wool.
- Environmental Impact: They are petroleum-based products. However, many manufacturers now use blowing agents with lower global warming potential (GWP). EPS has a lower embodied energy than XPS or Polyiso.
- Fire Performance: Most foam insulation is combustible and must be covered with an approved thermal barrier (like 1/2-inch drywall) when used indoors, as per building codes.
- Vapor Barrier Placement: Using a low-permeability foam (like XPS or foil-faced Polyiso) in the wrong assembly can trap moisture inside a wall. It’s critical to understand the “dew point” and ensure the wall can dry to one side or the other. Consulting a building professional is advised for complex wall systems.
A Step-by-Step Guide to Installing Foam Insulation Sheets
Installing foam board on an interior basement wall is a common DIY project. Here’s a general overview.
Important Note: Always check local building codes before starting any insulation project.
Tools & Materials Needed:
- Foam insulation sheets (XPS recommended for basements)
- Tape measure and straight edge
- Utility knife
- Construction adhesive (rated for foam)
- Foam board tape (specific to the foam type)
- Caulk and caulk gun
- Protective eyewear and gloves
Installation Steps:
- Preparation: Ensure the basement walls are clean, dry, and free of major cracks or moisture issues. Seal any cracks with hydraulic cement. It is critical to address water intrusion problems before insulating.
- Create a Air Seal: Caulk the joint where the basement floor meets the wall, and where the top of the wall meets the wood sill plate. This is a primary source of air leaks.
- Measure and Cut: Measure the wall cavity and transfer the measurements to the foam board. Use a straight edge and a sharp utility knife to score the panel. Snap it along the score line for a clean cut.
- Apply Adhesive: Apply construction adhesive in a serpentine pattern or in dollops on the back of the foam panel.
- Install the Panels: Press the panel firmly against the wall, ensuring it is plumb and tight against the neighboring panels and the floor.
- Seal the Seams: This is a critical step for performance. Use a specific foam board tape (e.g., housewrap tape for foil-faced, butyl tape for XPS) to seal all the seams between panels. This creates the continuous air and vapor barrier.
- Install a Thermal Barrier: Per building code, foam insulation must be covered with a thermal barrier. The most common method is to frame a 2×4 stud wall in front of the foam (with the studs aligned so you can fasten through the foam into the concrete wall behind). Then, install drywall over the studs.
Foam Insulation Sheets Cost Analysis
The total cost of foam insulation is determined by several variables, the main factors of which are as follows:
Sheet Type (This is the largest cost factor)
EPS (Expanded Polystyrene): The lowest-cost option. Due to its relatively simple production process, it is a good choice for projects with limited budgets.
XPS (Extruded Polystyrene): Mid-priced. Its excellent compressive strength and moisture resistance offer excellent value.
Polyiso (Polyisocyanurate): The highest cost. It offers the highest initial R-value (thermal resistance), but suffers from long-term thermal resistance degradation.
R-value (Thermal Resistance)
R-value is the core measure of the thermal performance of an insulation material. Higher R-values indicate better insulation performance but also higher costs.
R-value is primarily achieved by increasing sheet thickness or using higher-density materials.
Sheet Thickness
Thickness directly determines the amount of material used. While the relationship between cost and thickness is not linear, doubling the thickness generally results in a significant increase in cost.
Sheet Size and Density
Standard-sized sheets (e.g., 4′ x 8′) offer better unit prices. Special sizes require custom fabrication and incur additional charges.
Higher density makes the board stronger and more durable, and potentially provides better insulation, but also increases the cost.
Project Size
Retail Purchase: Buying small quantities of board at a building material market results in the highest unit price.
Bulk Purchase: Large projects (such as whole-house insulation) can be significantly discounted by purchasing in bulk directly from a distributor.
Contractor Pricing: Professional contractors can often obtain materials at lower prices.
Cost is typically calculated “per board foot”—that is, the price per square foot of one-inch thick board. This is the best way to compare the costs of different board thicknesses and types.
Board Type Estimated Cost Per Board Foot Estimated Cost Per Standard Board (4×8 ft, 1 inch thick) Estimated Cost Per Standard Board (4×8 ft, 2 inch thick)
EPS (R-3.6 to R-4.4/inch) $0.20 – $0.40 $6.50 – $13 $13 – $26
XPS (R-5/inch) $0.40 – $0.70 $13 – $22 $26 – $45
Polyiso (R-6+/inch) $0.60 – $1.00 $19 – $32 $38 – $64
Common Thicknesses and Estimated Costs Per Board for Different Applications:
Wall Insulation (2-inch XPS): $26 – $45 per board
Basement Insulation (1.5 – 2-inch XPS): $20 – $45 per board
Roof Insulation (4 – 6-inch Polyiso): $75 – $190+ per board
** Under-slab insulation (2-inch XPS):** $26 – $45 per sheet
The materials themselves are only part of the total cost. Don’t overlook the following expenses:
Supplementary Material Costs:
Specialty Adhesive: $5 – $15 per tube
Mechanical Fasteners (Plastic Cap Nail/Washer Screw): $0.10 – $0.50 per piece
Sealing Tape (for Seams): $5 – $15 per roll
Fire-Resistant Sheathing (e.g., Drywall): This is a code requirement and will be charged separately.
Labor Costs:
DIY: No labor cost, but time and effort are required.
Professional Installation: Labor costs are often comparable to or higher than the material cost. Depending on the complexity of the project and the region, labor costs may range from $1.50 to $4.00 per square foot.
Tool Costs:
Basic tools such as a utility knife, ruler, and hand saw are relatively inexpensive.
If you purchase or rent specialized tools (such as a hot wire cutter), there will be additional costs.
Conclusion
Foam insulation sheets offer a powerful, high-performance solution for creating more energy-efficient, comfortable, and durable buildings.
By understanding the strengths and limitations of each type and following proper installation techniques, you can effectively reduce your energy bills, increase your comfort, and protect your investment for years to come.