How to cut styrofoam (Expanded Polystyrene or EPS) might seem daunting.
Its lightweight, crumbly nature means that using the wrong tool can result in a messy, jagged edge and a room full of static-clingy beads.
But with the right technique, cutting Styrofoam can be as easy as slicing through butter.
What is Styrofoam?
Chemical Composition
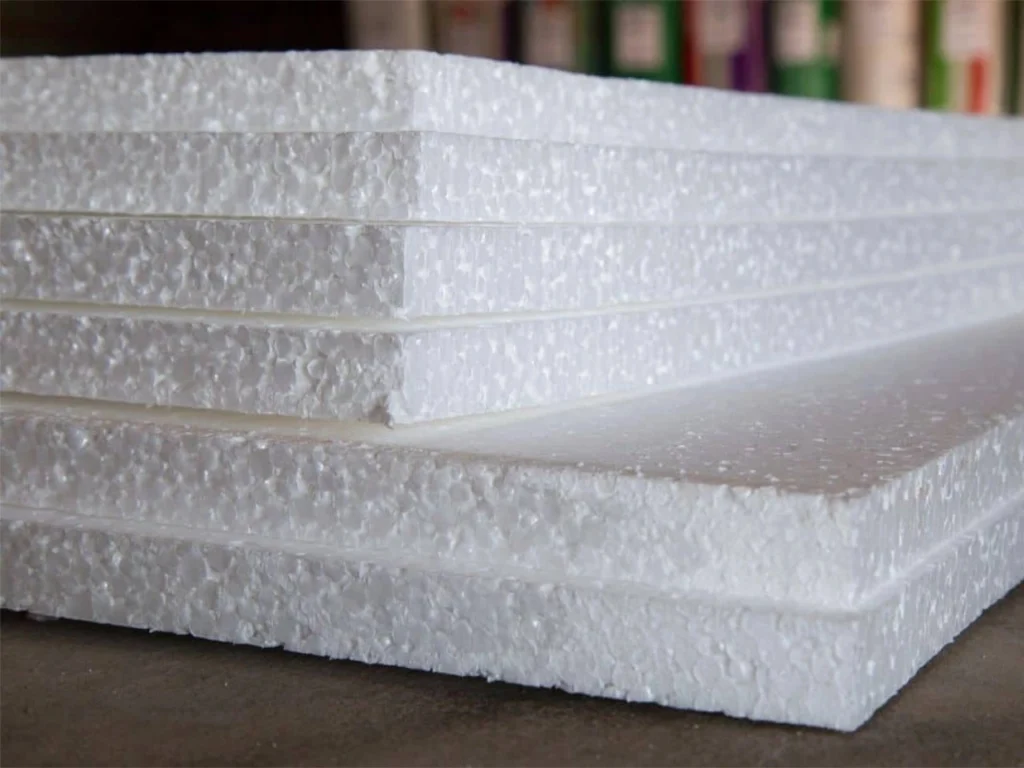
Styrofoam is essentially polystyrene, a synthetic plastic derived from petroleum and natural gas.
Polystyrene itself is a rigid, usually transparent polymer, commonly used in the manufacture of CD cases, plastic tableware, etc.
Foaming Process: How Plastic Particles Become Foam
The key to manufacturing EPS lies in “foaming”:
Step 1: Pre-foaming – Tiny polystyrene beads are heated (usually using steam), causing the foaming agent (such as pentane) mixed in to evaporate.
This causes the beads to expand to more than 40 times their original volume, becoming lightweight foam balls filled with closed pores.
Step 2: Curing and Shaping – The expanded beads are stabilized and then heated and pressurized again in a mold.
The beads fuse together to form the final block, sheet, or custom-shaped product.
Key Properties
The success of EPS stems from its unique physical properties:
Extremely Lightweight: Approximately 95% to 98% is air, making it extremely lightweight.
Excellent thermal insulation: The closed-cell structure effectively blocks heat transfer, providing excellent heat and cold insulation.
Outstanding cushioning and shock absorption: Effectively absorbs impact energy, protecting delicate items.
Waterproof and moisture-proof: Does not absorb moisture, effectively preventing moisture damage.
Easy to mold: Can be molded into various complex shapes.
Low cost: Raw material and production costs are relatively low.
Wide Applications of Styrofoam

Thanks to the above characteristics, EPS has permeated all aspects of our lives:
Packaging
Electrical appliance packaging: Internal cushioning pads for televisions, refrigerators, computers, etc.
Seafood boxes: Utilizing its thermal insulation properties to ensure the freshness of seafood during transportation.
Corner protectors/fillers: Protect furniture, building materials, etc., from bumps and knocks during transportation.
Food and catering services
Disposable lunch boxes: Containers for takeout and fast food.
Coffee cups/beverage cups: Provide insulation to prevent burns.
Meat Trays: Commonly found in supermarkets as trays for fresh meat.
Construction & Industry
Building Insulation: Used as insulation panels in walls, roofs, and foundations to improve building energy efficiency.
Underfloor Heating Insulation: Lay in underfloor heating systems to prevent heat loss downwards.
Lightweight Filler: Used in the manufacture of lightweight concrete, roadbed filling, etc.
Other Uses
Crafts: Used for making models, stage sets, and sculptures.
Life Jackets/Buoys: Due to their high buoyancy, used as the core filler in lifesaving equipment.
Understanding How To Cut Styrofoam

The key to cutting Styrofoam cleanly is to melt through it rather than tear through it. Tools that use heat create a smooth, sealed edge.
Sharp, serrated blades that slice with a sawing motion also work well. The tools to avoid are dull blades that crush and rip the foam beads apart.
The Hot Knife/Wire Cutter
This is the gold standard for cutting EPS foam. It uses heat to vaporize the foam, resulting in an incredibly smooth, sealed, and professional-looking edge with virtually no mess.
Tools Needed:
- Commercial foam cutter (hot wire tool)
- DIY hot wire cutter
- Hot knife
How to Do It:
- For a Commercial Cutter: If you have a table-style hot wire cutter, simply plug it in, let it heat up, and gently guide the foam through the wire. It cuts like a laser.
- For a Handheld Cutter: These often have a heated wire on a wand. Draw a cut line on the foam, and then slowly and steadily guide the wire along the line. Let the heat do the work—do not push.
- For a Hot Knife: Similar to a soldering iron with a blade tip, a hot knife is perfect for detailed, intricate cuts but can be slower for long, straight lines.
Safety First:
- Ventilation is Crucial! Melting polystyrene releases fumes that can be irritating. Always work in a well-ventilated area or wear a respirator.
- The wire and knife get extremely hot. Handle with care and keep away from flammable materials.
Best For: Precision cuts, complex shapes, model building, and any project where a super-smooth edge is critical.
The Sharp Utility Knife
For thinner sheets of foam (up to about 1-2 inches thick), a sharp utility knife is your best friend.
Tools Needed:
- Sharp utility knife or retractable box cutter (use a brand-new blade)
- Straight edge (ruler or metal level)
- Marker
How to Do It:
- Score and Snap: Mark your cut line. Using the straight edge as a guide, make a deep, firm scoring cut along the line. Don’t try to cut all the way through in one pass.
- Flip and Repeat: Flip the foam sheet over and carefully align your straight edge with the same cut line. Make another deep scoring cut on the opposite side.
- Snap: Move the foam to the edge of a table, aligning the cut line with the edge. Gently but firmly press down on the overhanging section. It should snap cleanly along the scored line.
Pro Tip: For a cleaner break, you can run the back of the knife blade along the cut line on the opposite side of the foam before snapping.
Best For: Straight cuts on sheets up to 2″ thick, basic projects, and insulation boards.
The Serrated Bread Knife
A long, serrated bread knife is an excellent tool for cutting thicker blocks of foam, acting like a saw to slice through the beads.
Tools Needed:
- Long, serrated bread knife (the longer, the better)
- Sawing motion
How to Do It:
- Mark your cut line.
- Use long, smooth, sawing strokes with minimal downward pressure. Let the serrations do the cutting.
- Keep the strokes steady and try to follow your line. The longer the knife, the straighter your cut will be.
Best For: Cutting thick blocks of foam, sculpting large shapes, and making long cuts where a utility knife is too small.
Power Tools
For major projects like installing insulation or large sculptural work, power tools are the way to go.
A. Oscillating Multi-Tool
This is one of the best power tools for the job.
- Blade: Use a semi-circular wood or plastic cutting blade.
- Technique: The high-speed oscillation creates a very clean cut with minimal tearing. It’s perfect for making plunge cuts, notching, and trimming installed foam board.
B. Jigsaw
Great for cutting curves and complex shapes in thicker foam.
- Blade: Use a fine-tooth, down-cut blade if possible. A standard wood blade will work but may create more tear-out on the top surface.
- Technique: Support the foam well and cut at a steady, medium speed.
C. Reciprocating Saw (Sawzall)
Ideal for very rough, fast cuts where a clean edge doesn’t matter, like breaking down large pieces for disposal.
- Blade: Use a long, fine-tooth blade.
- Note: This will create a very rough edge and a lot of mess. Not recommended for precision work.
Safety Note for Power Tools: Always wear safety glasses and a dust mask. The friction can create a lot of static and foam dust.
The “Unconventional” Method
This clever method is excellent for cutting very large blocks of foam and requires only common workshop items.
Tools Needed:
- A piece of string (fishing line or nichrome wire works best)
- Two handles (e.g., two sturdy sticks or dowels)
- A helper
How to Do It:
- Tie each end of the string to a handle.
- Have your helper hold one side of the foam block steady.
- Place the string over your cut line and, using a sawing motion back and forth, let the friction of the string melt and cut through the foam.
Best For: Cutting large blocks in half, especially when you don’t have a long enough blade.
Pro Tips and Tricks for a Perfect Finish

- Marking Your Line: Use a sharp pencil or a fine-tip marker. For highly visible lines, a dark permanent marker works well.
- Support the Foam: Always cut on a stable surface. For long cuts, support the entire length of the foam to prevent it from bending and snapping unpredictably.
- Minimizing Mess: The hot wire method creates the least mess. For other methods, do your cutting over a drop cloth or a large cardboard box to easily collect the beads.
- Smoothing Rough Edges: If you end up with a rough edge, you can smooth it by gently sanding it with a fine-grit sandpaper (around 120-150 grit) or by rubbing it with a scrap piece of foam.
What NOT to Use
- Dull Knives or Saws: These will crush and tear the foam, creating a terrible mess.
- Standard Wood Saws (Handsaws): The large, coarse teeth are designed to rip through wood fibers and will demolish foam.
- Heat Guns: A heat gun is too uncontrolled and will simply melt a large, messy gully in the foam, releasing toxic fumes.
Conclusion: Choose the appropriate tools
| Tool | Best For | Edge Quality | Mess Level |
|---|---|---|---|
| Hot Wire Cutter | Precision, curves, complex shapes, model building | Excellent | Very Low |
| Utility Knife | Straight cuts on thin sheets (<2″) | Good | Low |
| Serrated Bread Knife | Thick blocks, sculpting | Fair to Good | Medium |
| Oscillating Tool | Installed insulation, plunge cuts, notching | Very Good | Low |
| Jigsaw | Curves and shapes in thick foam | Good | Medium |
| String Method | Cutting very large blocks in half | Fair | Low |
By matching the right tool to your specific project, you can transform the frustrating task of cutting Styrofoam into a simple, clean, and successful part of your build.