Crown molding is a fantastic way to add elegance and character to any room.
While traditional wood molding can be heavy and challenging to work with, foam crown molding offers a lightweight, cost-effective, and easy-to-install alternative.
What is Foam Crown Molding
Foam crown molding is a cost-effective, easy-to-install alternative to traditional crown molding.
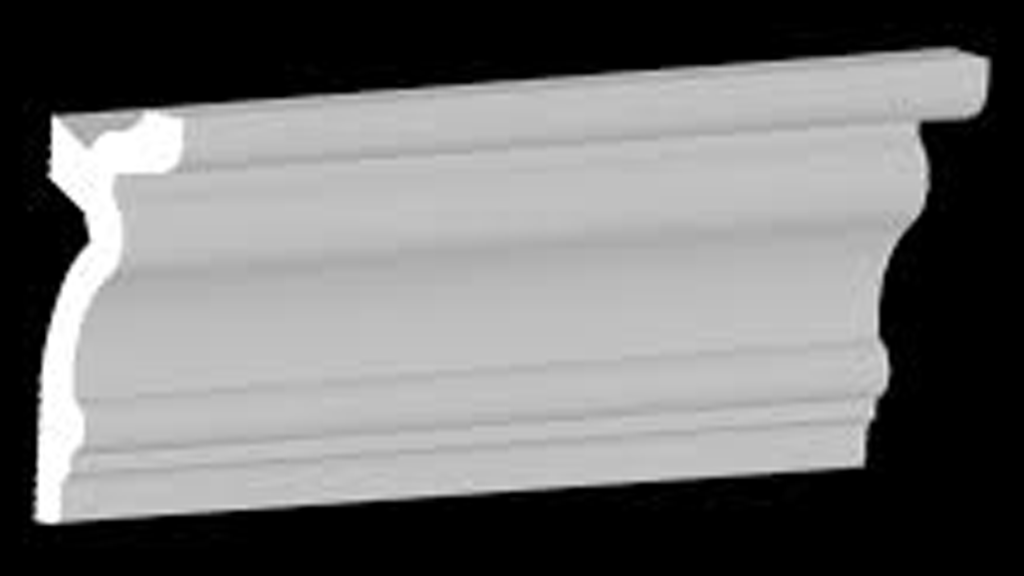
Rather than being made of wood or plaster, the crown molding is constructed out of lightweight foam like polystyrene or polyurethane.
It is designed to mimic the look of traditional wood or plaster molding.
It is lightweight, flexible, and easy to cut.
It‘s an excellent choice for DIY enthusiasts and homeowners looking to enhance their interiors without the hassle of heavy and cumbersome materials.
There are many reasons people choose to use foam crown molding in their decorating and design projects.
Foam molding is inexpensive, easy-to-install and available in several different styles.
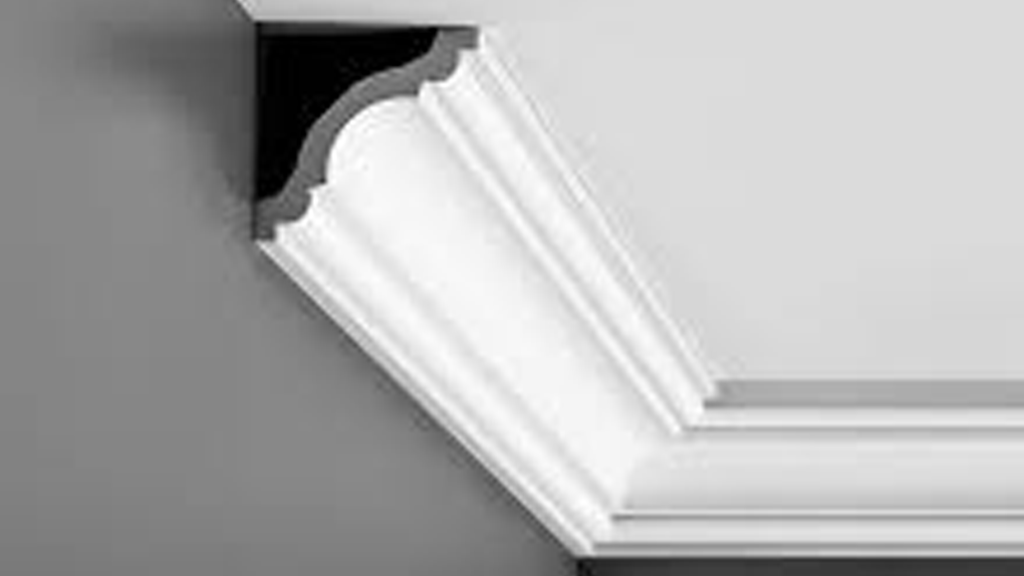
When applied correctly, you cannot tell the difference between foam crown molding and traditional crown molding.
Materials and Tools Needed
Before starting, gather the following materials and tools:
– Foam crown molding
– Miter saw or miter box and handsaw
– Measuring tape
– Pencil and notepad
– Adhesive caulk or construction adhesive
– Caulk gun
– Painter’s tape
– Finishing nails and hammer (optional)
– Sandpaper (fine grit)
– Paint and primer (optional)
– Paintbrushes or rollers
– Ladder or step stool
– Safety goggles and gloves
Step-by-Step to Installing Foam Crown Molding

Step 1: Planning and Measuring
1. Measure the Room: Use a measuring tape to measure the length of each wall where you plan to install the crown molding.
Write down the measurements to ensure accurate cuts.
2. Calculate Material Needed: Based on your measurements, calculate the total length of foam crown molding required.
Add an extra 10-15% to account for mistakes and waste.
3. Plan the Layout: Determine the starting point and the order in which you will install the molding.
Typically, starting from a corner and working your way around the room is easiest.
Step 2: Cutting the Foam Crown Molding
1. Set Up the Miter Saw: Set your miter saw to 45 degrees for inside and outside corner cuts.
If using a miter box and handsaw, ensure the angles are accurately marked.
2. Cut the Molding: Cut the foam crown molding to the lengths required for each wall, making sure to cut the corners at 45-degree angles.
Test fit each piece to ensure a snug fit before proceeding.
3. Smooth the Edges: Use fine-grit sandpaper to smooth any rough edges from the cuts, ensuring a clean and professional look.
Step 3: Installing the Foam Crown Molding
1. Apply Adhesive: Using a caulk gun, apply a bead of adhesive caulk or construction adhesive to the back of the foam crown molding.
Focus on the edges that will contact the wall and ceiling.
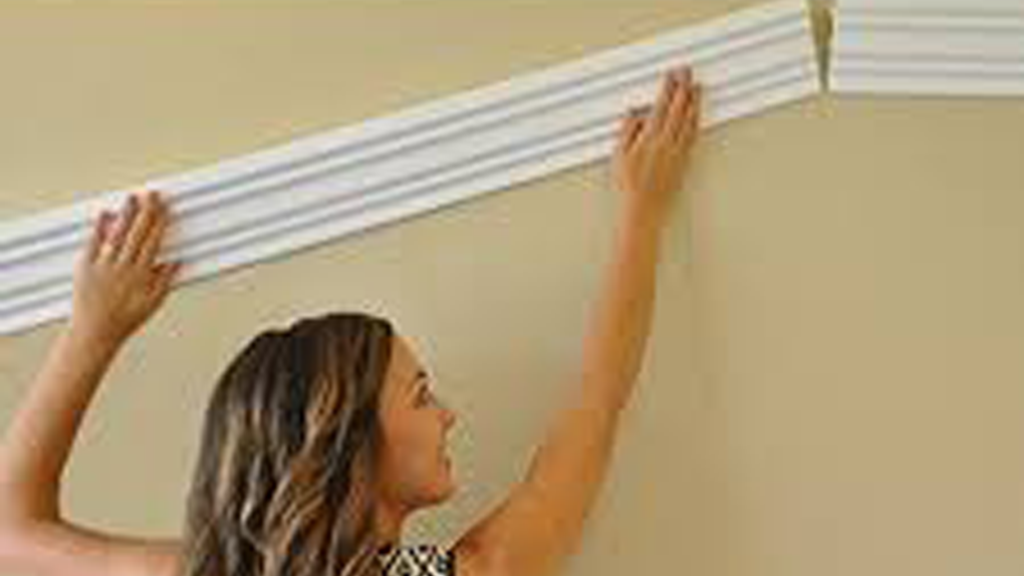
2. Position the Molding: Carefully position the molding against the wall and ceiling, starting from your chosen starting point.
Press firmly to ensure good contact with the adhesive.
3. Secure with Painter’s Tape: Use painter’s tape to temporarily hold the molding in place while the adhesive sets.
This will help prevent the molding from shifting.
4. Nail for Extra Security (Optional): If desired, you can use finishing nails to secure the molding further.
Drive the nails through the molding into the wall studs, then cover the nail heads with caulk.
Step 4: Joining and Finishing
1. Join the Pieces: Where two pieces of molding meet, apply a small amount of adhesive to the ends and press them together.
Use painter’s tape to hold the joints in place while the adhesive sets.
2. Fill Gaps and Seams: Use adhesive caulk to fill any gaps or seams between the molding and the wall or ceiling.
Smooth the caulk with your finger or a caulk smoothing tool for a seamless finish.
3. Sand and Prepare for Painting: Once the adhesive is fully cured, lightly sand any rough areas or excess caulk to ensure a smooth surface.
Wipe away any dust with a damp cloth.
Step 5: Painting and Final Touches
1. Prime the Molding (Optional): If the foam crown molding is not pre-primed, apply a coat of primer suitable for foam materials. Allow it to dry completely.
2. Paint the Molding: Apply your chosen paint color to the molding using a paintbrush or roller.
Apply thin, even coats, allowing each coat to dry before applying the next.
3. Final Inspection: Inspect the molding for any touch-ups needed.
Ensure the paint is even and smooth, and all seams and gaps are filled.
Tips for Success
– Take Accurate Measurements: Accurate measurements are crucial for a seamless fit.
Double-check your measurements before cutting the molding.
– Use the Right Adhesive: Choose an adhesive caulk or construction adhesive specifically designed for foam materials to ensure strong and lasting adhesion.
– Practice Your Cuts: If you are new to using a miter saw or miter box, practice making cuts on scrap pieces of molding to gain confidence and accuracy.
– Work in Sections: Install the molding in manageable sections to maintain control and precision.
– Allow Adequate Drying Time: Give the adhesive and paint ample time to dry between steps to ensure the best results.
Common Mistakes to Avoid
– Incorrect Measurements: Measure twice, cut once. Incorrect measurements can lead to wasted material and poor fitting.
– Improper Adhesive Application: Apply enough adhesive to ensure a strong bond but avoid overapplying, which can lead to excess squeezing out and creating a mess.
– Skipping the Sanding Step: Sanding is essential for achieving a smooth and professional finish, especially at the joints and seams.
Advanced Techniques for Foam Crown Molding Installation
Advanced Cutting Techniques
1. Compound Miters: For angled ceilings or walls, you may need to cut compound miters.
This involves adjusting both the bevel and miter angles on your saw.
Consult a compound miter chart or online calculator to determine the correct angles for your specific situation.
2. Scarf Joints: For long walls, you might need to join two pieces of molding end-to-end.
Instead of a straight butt joint, use a scarf joint—a 45-degree angle cut on both pieces that overlap— for a stronger and less noticeable seam.
3. Coping Joints: Coping involves cutting the end of one piece of molding to fit over the profile of another.
This technique is often used for inside corners and provides a cleaner, more professional look than simple miter cuts.
Enhancing Design and Detail
1. Layering Molding: Create a more intricate design by layering multiple pieces of molding.
Combine different profiles and sizes to add depth and visual interest to your crown molding.
2. Adding Decorative Elements: Enhance the aesthetic appeal of your crown molding by adding decorative elements such as rosettes, corner blocks, or dentil molding.
These can be adhered directly to the foam molding using the same adhesive caulk.
3. Lighting Integration: Incorporate LED strip lighting behind the crown molding to create a dramatic lighting effect.
This requires careful planning to ensure the molding is installed with enough space for the lighting fixtures.
Addressing Common Issues
1. Dealing with Uneven Walls and Ceilings: Use a level and shims to ensure the molding is straight.
Apply caulk to fill any gaps caused by uneven surfaces.
2. Preventing and Fixing Cracks: Ensure the foam crown molding is securely attached to prevent movement that can cause cracks.
If cracks appear, fill them with paintable caulk and repaint as necessary.
3. Matching Paint Colors: When painting the molding, use the same color and finish as your walls or ceiling for a seamless look.
For contrasting colors, ensure clean, sharp lines by using painter’s tape.
Safety and Maintenance Tips
– Safety First: Always wear safety goggles and gloves when cutting and installing foam crown molding to protect your eyes and hands from debris and sharp edges.
– Regular Cleaning: Keep your crown molding looking fresh by regularly dusting and cleaning it. Use a soft cloth or a duster to remove dust and cobwebs.
– Inspection for Damage: Periodically inspect your crown molding for any signs of damage, such as cracks or peeling paint.
Address any issues promptly to maintain the molding’s appearance and integrity.
Conclusion
Installing foam crown molding is a rewarding project that can significantly enhance the aesthetic appeal of any room.
Foam crown molding offers an accessible and cost-effective way to add elegance and character to our home, with the added benefits of being lightweight, easy to install, and highly customizable.
Remember to prioritize accuracy in measurements and cuts, and use the right materials and tools for the job.