Using foam to create molds is a versatile and affordable method that can be used across a variety of industries and DIY projects.
Whether you are casting a small object, or require a custom mold, foam provides a reliable and adaptable solution.
What Is Expanding Foam?
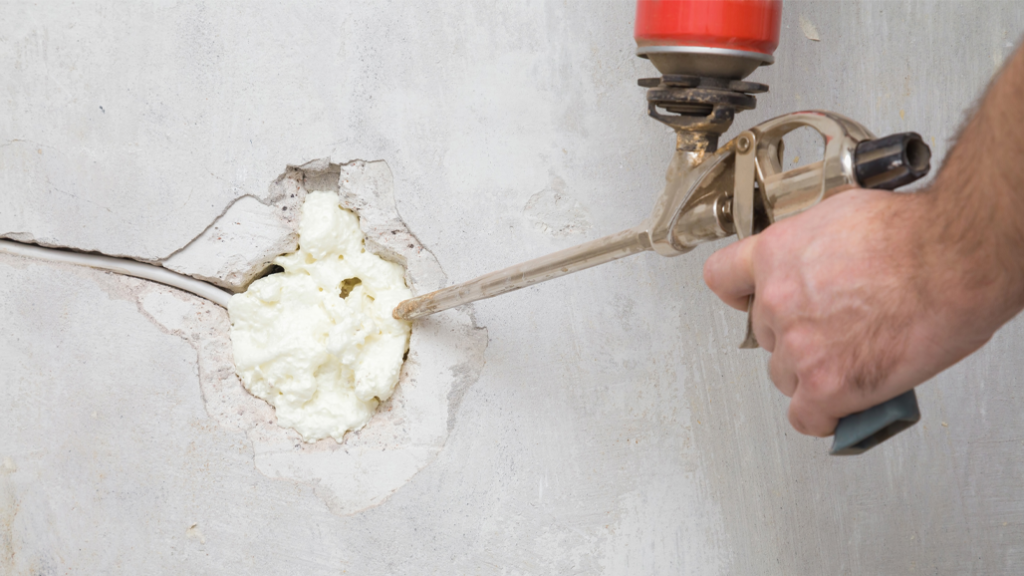
Expanding foam, or polyurethane foam or spray foam, is a material that expands and hardens after application.
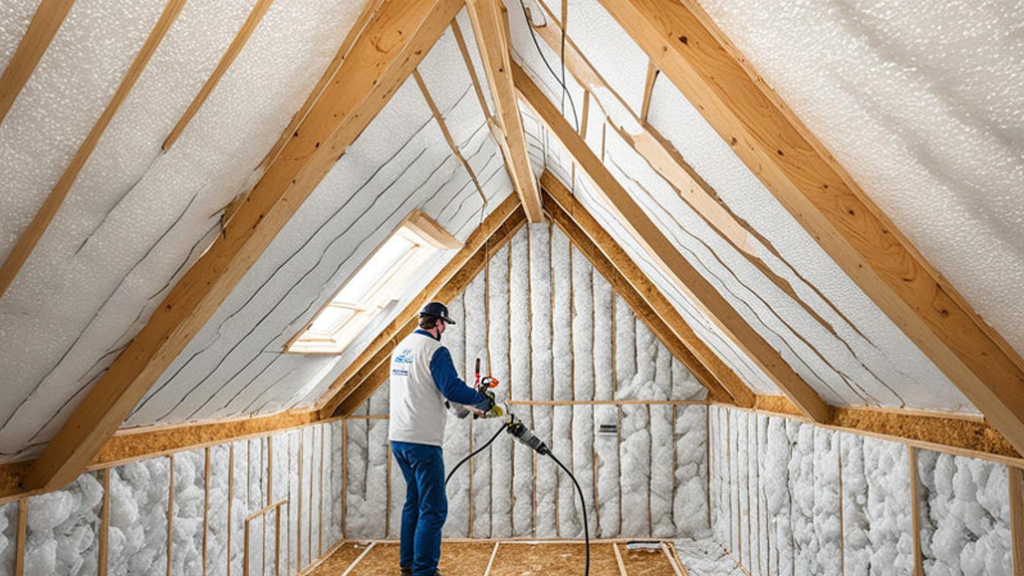
It is commonly used for insulation, sealing gaps, and, notably, creating molds.
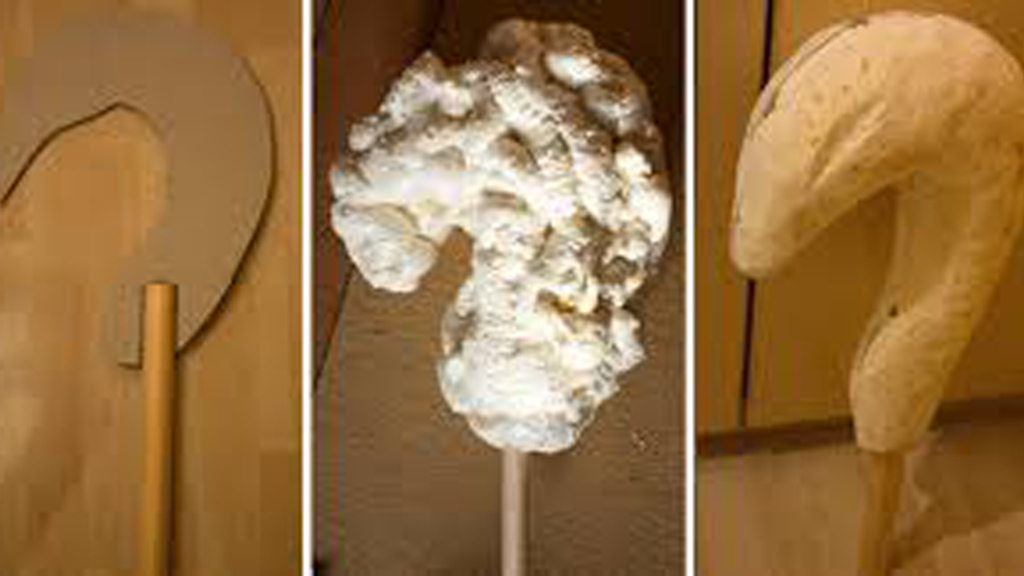
When used in mold-making, expanding foam creates a lightweight, durable core that can be used to form various shapes and objects.
Materials and Tools Needed
Before starting, gather the following materials and tools:
– Expanding Foam: Choose a high-density polyurethane foam suitable for mold-making.
– Release Agent: To prevent the foam from sticking to the original object or mold.
– Mold Box or Frame: A container to hold the foam and shape the mold.
– Mixing Tools: If working with two-part foam, you’ll need mixing containers and stir sticks.
– Protective Gear: Gloves, goggles, and a mask to protect against foam fumes and residue.
– Utility Knife: For cutting and shaping the cured foam.
– Sandpaper: For smoothing the foam surface.
– Sealant or Primer: For preparing the foam surface for casting.
Step-by-Step to Making a Mold with Expanding Foam
Step 1: Planning and Preparation
1. Determine the Mold Design: Decide on the shape and size of the mold you want to create.
Sketch out the design and make a list of any specific features or details you want to include.
2. Select the Foam: Choose a high-density expanding foam that is suitable for your project.
Foam density will affect the strength and durability of your mold.
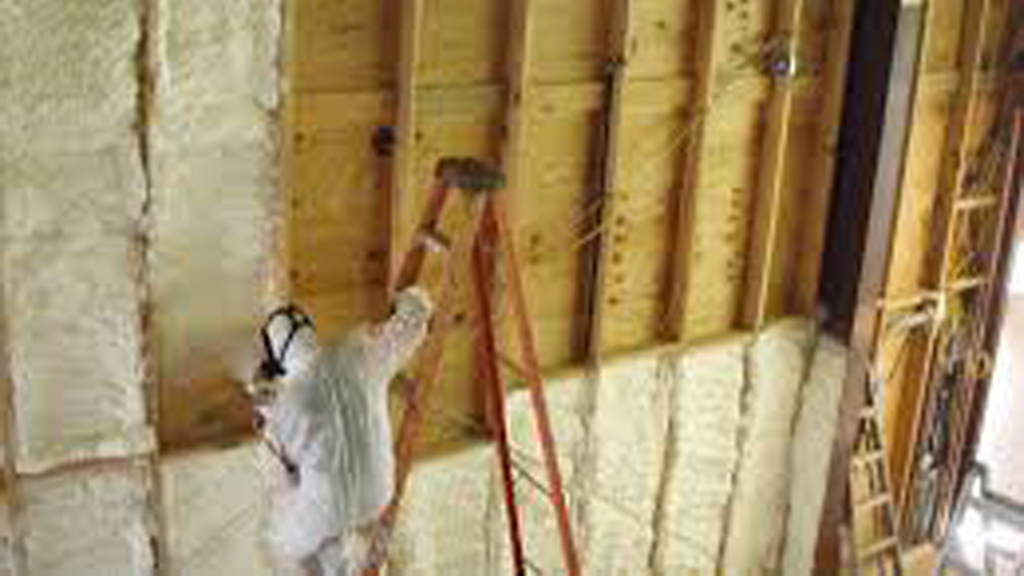
3. Prepare the Work Area: Work in a well-ventilated area to avoid inhaling fumes.
Lay down protective coverings to catch any spills or overspray.
4. Prepare the Mold Box: If you are using a mold box or frame, ensure it is clean and properly sealed.
The box should be slightly larger than the object you are molding to accommodate the expanding foam.
Step 2: Applying the Expanding Foam
1. Apply Release Agent: Coat the inside of the mold box or frame with a release agent to prevent the foam from sticking.
This step is crucial for easy removal of the foam from the mold box.
2. Mix the Foam: If using a two-part expanding foam, follow the manufacturer’s instructions to mix the components.
Typically, you will mix equal parts of resin and hardener. Stir thoroughly until the mixture is homogeneous.
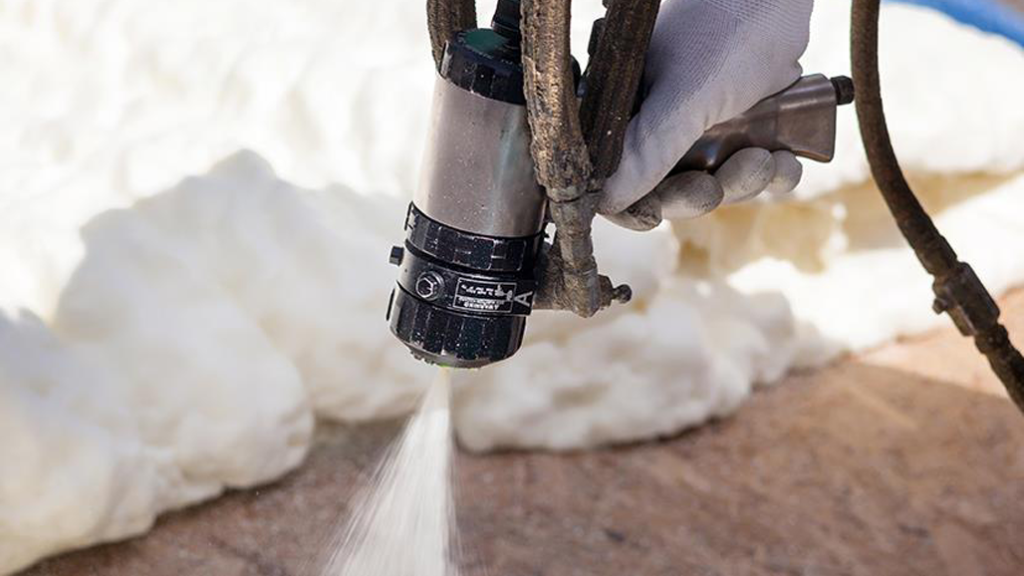
3. Pour or Spray the Foam: Pour or spray the mixed foam into the mold box.
If using a spray foam, apply it evenly to avoid creating voids or uneven areas.
If pouring, ensure that the foam fills all corners and crevices.
4. Allow to Expand and Cure: Let the foam expand and cure according to the manufacturer’s instructions.
Curing times can vary, but it generally takes 1-2 hours for the foam to become firm and fully cured.
Step 3: Removing and Finishing the Foam Mold
1. Remove the Foam from the Mold Box: Once the foam has fully cured, carefully remove it from the mold box.
If the foam is stuck, gently tap or wiggle the mold to release it.
2. Trim and Shape the Foam: Use a utility knife to trim any excess foam and shape the mold as needed.
Smooth the surface with sandpaper to achieve a clean finish.
3. Seal or Prime the Foam: To prepare the foam for casting, apply a sealant or primer.
This step helps to create a smooth surface and prevents air bubbles from forming during casting.
Step 4: Using the Foam Mold
1. Prepare the Casting Material: Choose a casting material suitable for your project, such as resin, plaster, or concrete.
Follow the manufacturer’s instructions for mixing and preparation.
2. Apply a Release Agent: Before pouring the casting material into the foam mold, apply a release agent to ensure easy removal of the cast object.
3. Pour the Casting Material: Pour the prepared casting material into the foam mold, ensuring it fills all cavities and details.
Tap the mold gently to release any trapped air bubbles.
4. Allow to Cure: Let the casting material cure completely according to the manufacturer’s instructions.
Curing times can vary based on the material used.
5. Remove the Cast Object: Once fully cured, carefully remove the cast object from the foam mold.
If necessary, use a utility knife to trim any excess material or imperfections.
Optimizing Mold-Making Process
Planning and Design
1. Detailed Blueprint: Create a detailed blueprint or 3D model of your mold design.
This will help you visualize the final product and ensure that all aspects of the mold are accurately planned.
2. Prototype Testing: Before committing to a final mold, create a small-scale prototype to test the design and adjust any issues.
This will help you refine the mold and casting process.
Efficiency and Cost-Effectiveness
1. Batch Processing: If making multiple molds or castings, consider batching the process.
Prepare several molds at once to save time and materials.
2. Material Handling: Store expanding foam and other materials properly to extend their shelf life.
Follow the manufacturer’s guidelines for storage and handling to prevent issues with expired or degraded materials.
Tips for Success
-Work Quickly: Expanding foam sets and cures relatively quickly. Have all materials and tools ready before starting the process.
-Avoid Overfilling: Expanding foam can overflow and create messes if overfilled. Start with a smaller amount and add more if necessary.
-Practice on Small Projects: If you’re new to mold-making with expanding foam, practice on smaller projects to gain experience and confidence.
-Ensure Proper Ventilation: Always work in a well-ventilated area to avoid inhaling foam fumes, which can be harmful.
Advanced Techniques
Complex Shapes and Detailing
1. Use Foam Carving Tools: For intricate designs and detailed molds, consider using foam carving tools or hot wire cutters to achieve precise shapes and fine details.
2. Layering Technique: For complex molds, use a layering technique. Apply a thin layer of foam, let it cure, then apply additional layers as needed.
This method allows for better control and more detailed results.
Reinforcing Foam Molds
1. Add Structural Support: For larger or more complex molds, reinforce the foam with structural supports such as wooden or metal frames.
This adds stability and prevents deformation.
2. Apply a Protective Coating: Coat the foam mold with a protective layer, such as fiberglass resin or epoxy, to enhance durability and strength.
This is especially useful for molds that will be used multiple times.
Applications of Foam Molds
Custom Molds for Projects
1. Architectural Elements: Foam molds are excellent for creating custom architectural elements such as columns, cornices, or decorative wall panels.
Use foam to craft intricate designs and then coat with a protective finish for durability.
2. Costume Design: In the world of costume design and special effects, expanding foam can be used to create lightweight, custom props and armor pieces.
Molds can be used to produce detailed parts like masks, shoulder pads, and weapon replicas.
3. Prototype Development: For product designers and engineers, foam molds are useful for creating prototypes.
They allow for quick and cost-effective testing of designs before moving on to more expensive production methods.
Advanced Mold Finishing Techniques
1. Smooth Surface Coatings: After shaping and sanding the foam, apply a smooth surface coating such as fiberglass resin or epoxy.
This enhances the mold’s durability and provides a professional finish suitable for repeated use.
2. Texturing and Detailing: Add textures and fine details to the mold surface using carving tools or texture mats.
These details will be transferred to the final cast, adding realism and complexity to your project.
3. Heat-Sealing: For added protection, use a heat-sealing technique to create a smooth, tough outer layer.
Heat-sealing can help seal the foam and provide additional resistance to casting materials.
Conclusion
Making molds with expanding foam is a versatile and accessible method for creating custom shapes and objects.
By following this comprehensive guide, you can achieve professional-quality results and tackle a wide range of projects.
Remember to plan your project carefully, use the right materials and tools, and practice patience for the best results.
Whether you’re a DIY enthusiast or a professional, expanding foam offers a practical and cost-effective solution for mold-making.