Fiberglass molds are critical to various industries including automotive, marine and construction.
Using foam as a base for fiberglass molds is a popular technique due to its ease of shaping and affordability.
What is Fiberglass molds?
Fiberglass molds are used to create durable and precise components.
The process involves laying fiberglass cloth over a foam model, which serves as the mold’s core, and then applying resin to harden the fiberglass.
This method is particularly useful for custom projects and small-scale productions.
Materials and Tools Needed
Before starting, gather the following materials and tools:
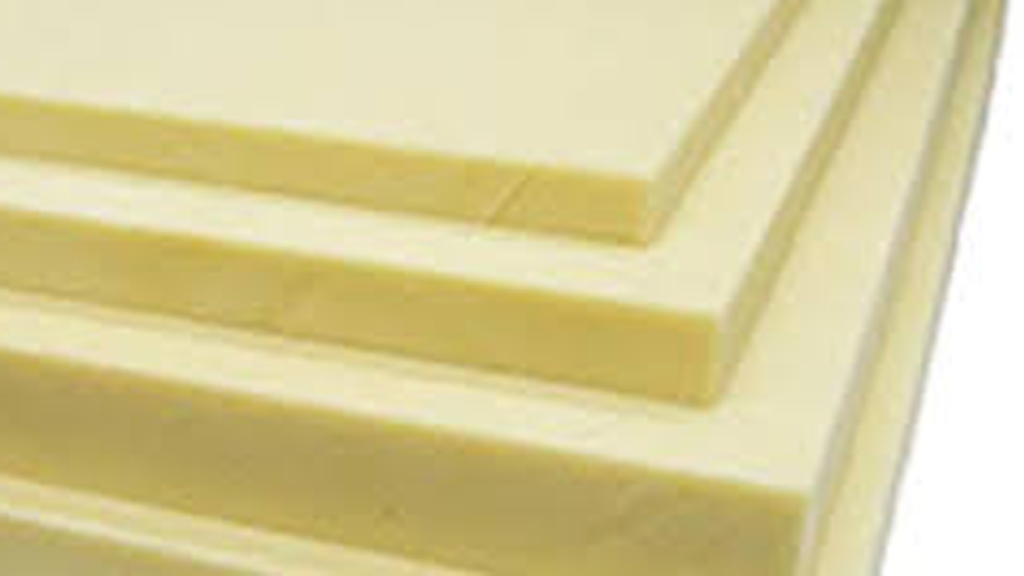
– Foam (e.g., expanded polystyrene (EPS) or extruded polystyrene (XPS))
– Fiberglass cloth
– Epoxy or polyester resin
– Hardener (if using epoxy resin)
– Release agent (e.g., PVA or mold release wax)
– Utility knife or hot wire cutter
– Sandpaper (various grits)
– Mixing cups and stir sticks
– Protective gloves, goggles, and mask
– Brushes and rollers
– Acetone (for cleaning)
– Primer and paint (optional)
– Sealant (optional)
Step-by-Step to Making Fiberglass Molds with Foam
Step 1: Design and Shape the Foam Model
1. Select the Foam: Choose the type of foam that suits your project. EPS and XPS are commonly used due to their ease of shaping and availability.
2. Design Your Mold: Sketch the design of your mold on paper. Ensure it fits the intended use and dimensions.
3. Cut the Foam: Use a utility knife or hot wire cutter to shape the foam according to your design. Be precise and take your time to achieve the desired shape.
4. Smooth the Surface: Use sandpaper to smooth the foam surface. Start with a coarse grit and progress to a finer grit for a smoother finish.
Step 2: Prepare the Foam Model
1. Clean the Foam: Remove any dust or debris from the foam surface. A clean surface ensures better adhesion for the fiberglass.
2. Apply Release Agent: Apply a release agent to the foam model. This will prevent the fiberglass from sticking to the foam, making it easier to remove the mold later.
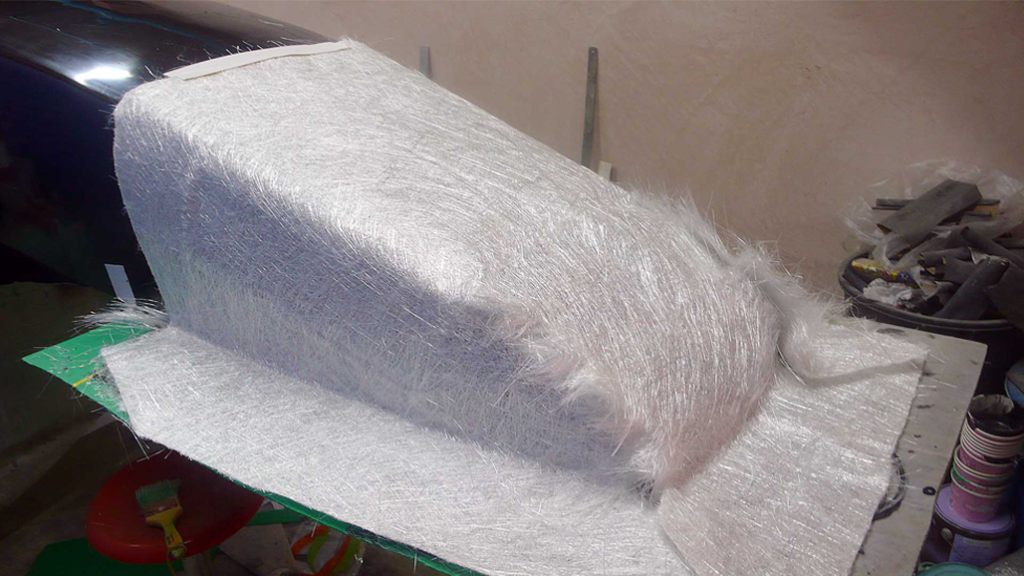
Step 3: Lay the Fiberglass Cloth
1. Cut the Fiberglass Cloth: Cut the fiberglass cloth into manageable pieces. Ensure the pieces are large enough to cover the foam model with some overlap.
2. Apply the Fiberglass Cloth: Lay the fiberglass cloth over the foam model.
Use a brush or roller to smooth out any wrinkles or air bubbles.
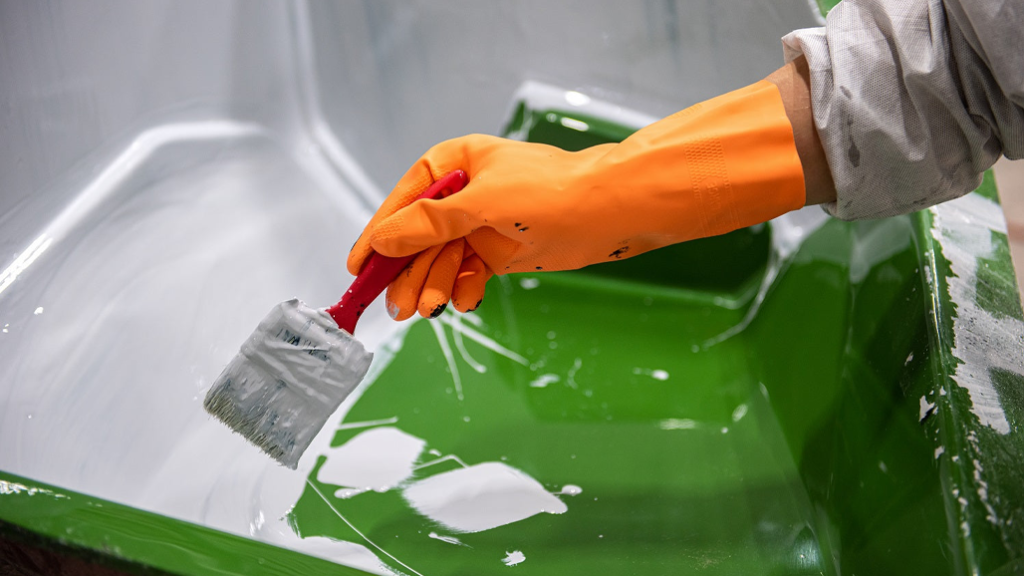
Step 4: Apply Resin to the Fiberglass
1. Mix the Resin: Follow the manufacturer’s instructions to mix the resin and hardener (if using epoxy resin).
Mix only as much as you can use within the working time.
2. Apply the Resin: Using a brush or roller, apply the mixed resin to the fiberglass cloth. Work quickly, ensuring the cloth is fully saturated with resin.
3. Layering: Apply multiple layers of fiberglass cloth and resin, allowing each layer to partially cure before applying the next.
This approach helps in achieving a strong and durable mold.
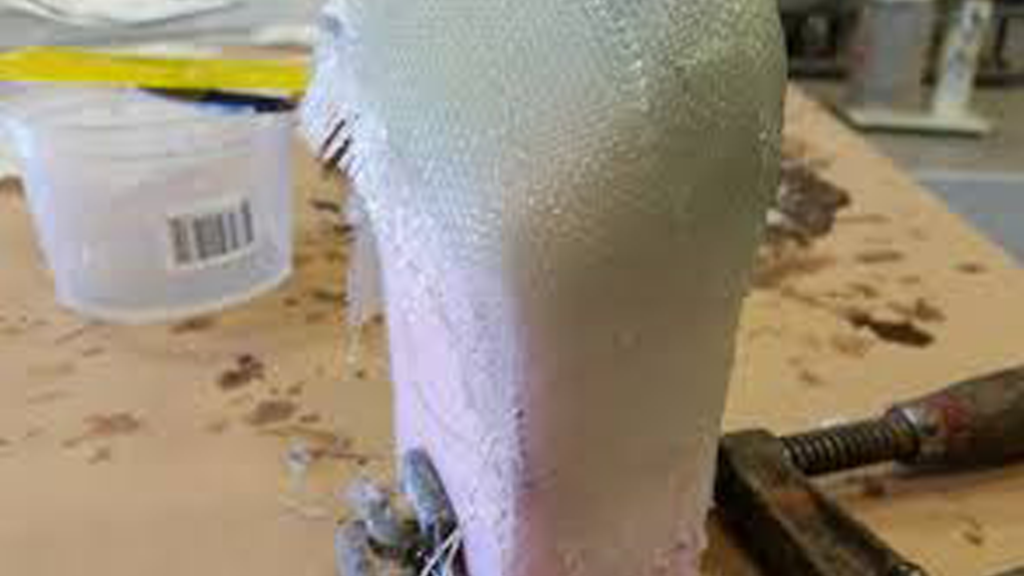
Step 5: Curing and Finishing
1. Cure the Fiberglass: Allow the fiberglass to cure fully. This usually takes 24-48 hours, depending on the resin used and environmental conditions.
2. Trim Excess Fiberglass: Once the fiberglass is fully cured, use a utility knife or sandpaper to trim any excess material and smooth the edges.
3. Inspect and Fill: Inspect the mold for any imperfections. Apply additional resin or fiberglass to fill these areas, if necessary, and repeat the curing process.
Step 6: Sealing and Priming (Optional)
1. Seal the Surface: Apply a sealant to the fiberglass surface to protect it from moisture and further enhance durability.
2. Prime the Mold: If you plan to paint the mold, apply a primer suitable for fiberglass. This step ensures better paint adhesion and a smoother finish.
Step 7: Painting and Final Touches (Optional)
1. Paint the Mold: Choose a paint that is compatible with fiberglass. Apply thin, even coats, allowing each layer to dry before applying the next.
2. Final Inspection: After the paint is fully dry, inspect the mold for any final touch-ups. Make sure the surface is smooth and ready for use.
Tips for Success
– Work in a Well-Ventilated Area: Fiberglass and resin emit fumes during the curing process, so ensure you are working in a well-ventilated space.
– Use Protective Gear: Always wear gloves, goggles, and a mask to protect yourself from fumes, dust, and skin irritation.
– Practice Patience: Achieving a smooth, professional finish takes time and patience.
Don’t rush the process, especially during layering and curing.
– Test on a Small Piece First: If you are new to working with fiberglass and resin, practice on a small piece of foam to get a feel for the application and curing process.
Common Mistakes to Avoid
– Applying Too Much Resin at Once: This can lead to uneven surfaces and excessive curing times. Apply thin layers for better control.
– Not Mixing Resin Properly: Improper mixing can result in incomplete curing. Follow the manufacturer’s instructions carefully.
– Skipping Surface Preparation: Neglecting to clean and smooth the foam surface can lead to poor adhesion and a rough finish.
Techniques and Considerations
Reinforcing Your Mold
1. Adding Structural Support: For larger molds, consider adding internal supports using wooden or metal frames.
This provides extra stability and prevents deformation during the fiberglassing process.
2. Using Multiple Layers: Applying multiple layers of fiberglass cloth and resin can significantly increase the strength and durability of your mold.
Alternate the direction of the fiberglass weave between layers for added reinforcement.
Finishing Touches
1. Polishing: After the final layer of resin has cured, you can polish the mold to achieve a high-gloss finish.
Start with fine-grit sandpaper and progress to polishing compounds designed for fiberglass.
2. Edge Sealing: Seal the edges of the mold with additional resin or a specialized edge sealant to prevent fraying and ensure a clean finish.
Mold Maintenance
1. Cleaning: After each use, clean the mold thoroughly with acetone or a recommended cleaning solution to remove any residue.
This helps maintain the mold’s integrity and longevity.
2. Storage: Store the mold in a cool, dry place away from direct sunlight and extreme temperatures to prevent warping or degradation.
Environmental and Safety Considerations
Working with fiberglass and resin involves certain environmental and safety considerations. Follow these guidelines to minimize risks:
1. Ventilation: Always work in a well-ventilated area to avoid inhaling harmful fumes. Consider using a fume extractor or working outdoors.
2. Protective Gear: Wear protective gloves, goggles, and a mask to protect yourself from skin irritation, dust, and fumes.
3. Disposal: Dispose of leftover resin, fiberglass scraps, and used containers according to local regulations.
Many materials used in fiberglassing are hazardous and require special disposal methods.
4. Environmental Impact: Consider using environmentally friendly resins and release agents whenever possible.
These products are designed to minimize environmental impact and reduce exposure to harmful chemicals.
Conclusion
Making fiberglass molds from foam is a versatile and effective method for producing high-quality, durable molds.
Remember to prioritize safety and surface preparation, apply the fiberglass and resin in thin layers, and take your time for curing and finishing.
By following these steps, you’ll be able to master the art of making fiberglass molds from foam, opening up new possibilities for your craft and industrial projects.