EVA foam, or Ethylene-Vinyl Acetate foam, is a popular material in the crafting and manufacturing industries due to its lightweight, flexible, and durable properties.
What Is EVA Foam?
EVA foam, or ethylene vinyl acetate foam, is a lightweight, flexible, and durable closed-cell foam known for its cushioning and shock-absorbing properties.
It is used in a wide variety of applications, including footwear, sporting equipment, and DIY projects.
EVA foam is favored for its ease of use, as it can be cut, shaped, and molded with relative ease compared to other materials.
Materials and Tools Needed
Before starting, gather the following materials and tools:
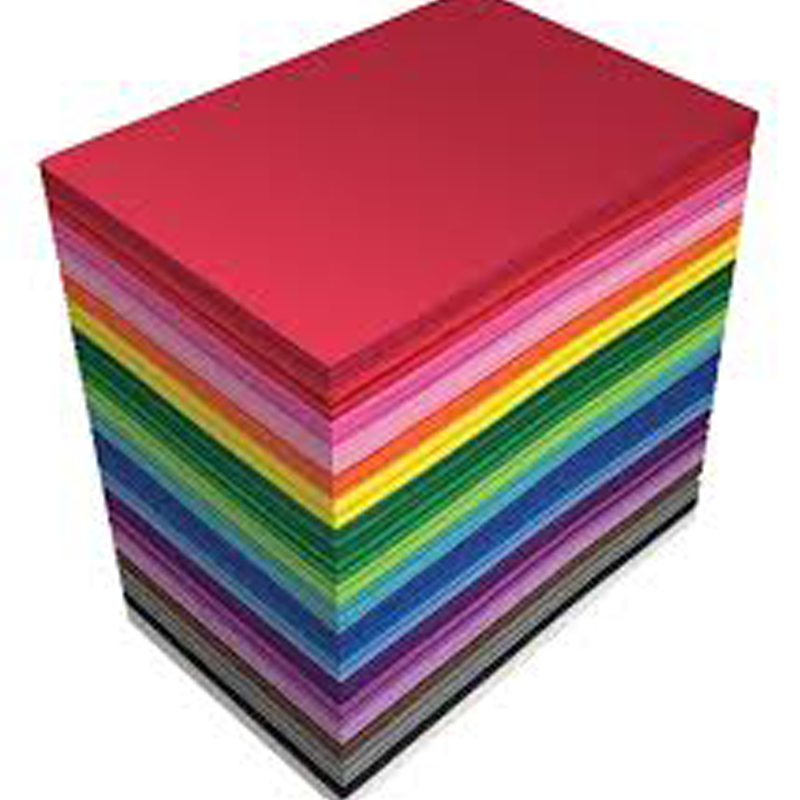
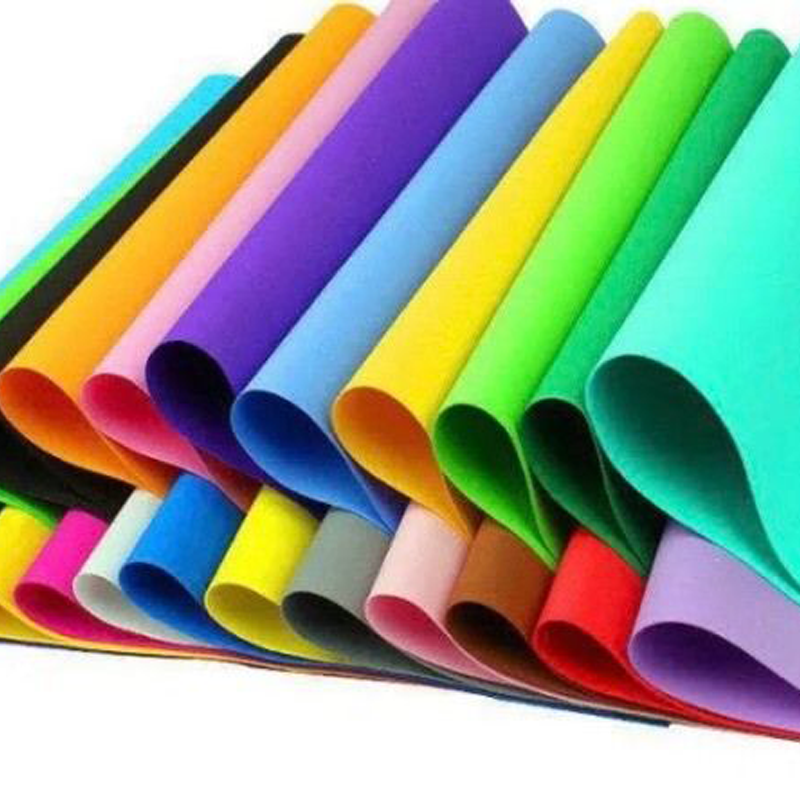
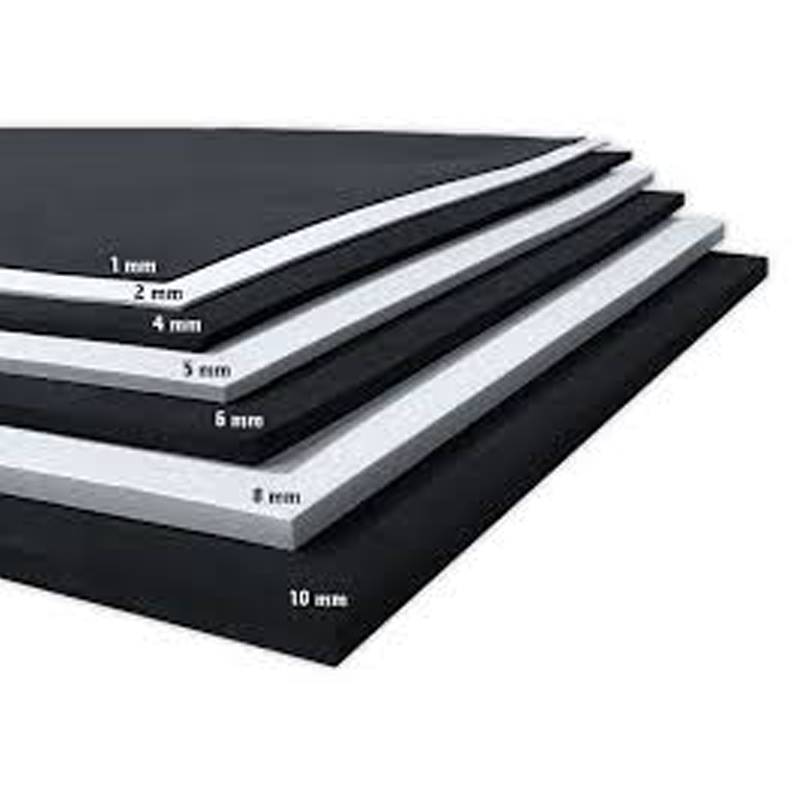
– EVA Foam Sheets: Available in various thicknesses and densities.
– Heat Gun: For softening and shaping the foam.
– Craft Knife or Utility Knife: For cutting the foam.
– Hot Glue Gun and Glue Sticks: For bonding pieces of foam.
– Contact Cement or Foam Adhesive: For strong, durable bonds.
– Sandpaper or Foam Files: For smoothing edges and surfaces.
– Templates or Patterns: For accurate cutting and shaping.
– Marker or Pencil: For tracing and marking.
– Protective Gear: Gloves, goggles, and a mask for safety.
Step-by-Step to Molding EVA Foam
Step 1: Planning and Design
1. Create a Design: Begin by sketching out your design or pattern. This could be for a costume, prop, or any other item you wish to create.
Accurate designs will help ensure a successful outcome.
2. Make Templates: Use paper or cardboard to create templates based on your design.
Cut out the templates and use them to trace onto the EVA foam.
3. Measure and Mark: Measure and mark the EVA foam sheets according to the templates.
Use a marker or pencil for clear and precise markings.
Step 2: Cutting the EVA Foam
1. Cut the Foam: Using a craft knife or utility knife, carefully cut out the foam pieces based on your marked lines.
Make sure to use a sharp blade to ensure clean cuts.
2. Sanding and Smoothing: After cutting, use sandpaper or foam files to smooth out any rough edges.
This will ensure a better fit and finish for your project.
Step 3: Shaping the EVA Foam
1. Heat the Foam: Use a heat gun to gently heat the EVA foam.
Hold the heat gun about 6-8 inches from the surface and move it back and forth to evenly heat the foam.
Be cautious not to overheat, as this can cause the foam to burn or become overly soft.
2. Form the Shape: Once the foam is heated, it becomes pliable and can be shaped or molded.
Use your hands or tools to form the foam into the desired shape.
For more complex shapes, you may need to use molds or forms to achieve the right contours.
3. Cool and Set: Allow the shaped foam to cool and set in its new form.
The foam will hold its shape once it has cooled and hardened.
Step 4: Assembling and Bonding
1. Bonding Pieces: To assemble multiple pieces, use a hot glue gun or contact cement.
Apply the adhesive to the edges of the foam pieces and press them together firmly. Hold in place until the adhesive sets.
2. Reinforcing Joints: For additional strength, you may reinforce joints and seams with extra adhesive or by applying small strips of foam to the inside of the joints.
Step 5: Finishing Touches
1. Painting the Foam: To paint EVA foam, start by applying a primer to seal the foam and improve paint adhesion.
Once the primer is dry, apply acrylic paint or other suitable paint finishes.
Use multiple thin coats for the best results.
2. Detailing: Add any additional details or embellishments as needed.
This could include painting designs, adding textures, or attaching additional components.
3. Sealing: For added durability, consider applying a sealant or topcoat to the finished piece.
This will protect the foam from wear and tear and enhance its longevity.
Techniques for EVA Foam Molding
Using Molds and Forms
1. Custom Molds: For intricate shapes, create custom molds using materials such as silicone or plaster.
Apply the EVA foam to the mold to achieve complex forms and detailed designs.
2. Vacuum Forming: For consistent and precise molding, use vacuum forming techniques.
This involves heating the EVA foam and then vacuuming it over a mold to achieve the desired shape.
Texturing and Detailing
1. Texture Applications: Add textures to the foam by using tools like embossing rollers or by pressing textures into the foam before it cools.
This can add realism and detail to your projects.
2. Layering: For more complex designs, layer multiple pieces of foam to build up details and create depth.
This technique is particularly useful for creating armor or large props.
Repair and Maintenance
1. Repairing Damage: If your EVA foam project becomes damaged, you can repair it by cutting out the damaged section and replacing it with new foam.
Use adhesive to bond the new piece and sand the area for a smooth finish.
2. Maintaining Flexibility: To maintain the flexibility of your foam pieces, avoid exposing them to excessive heat or moisture.
Store them in a cool, dry place to prevent warping or degradation.
Specific Applications of EVA Foam Molding
Cosplay Costumes and Props
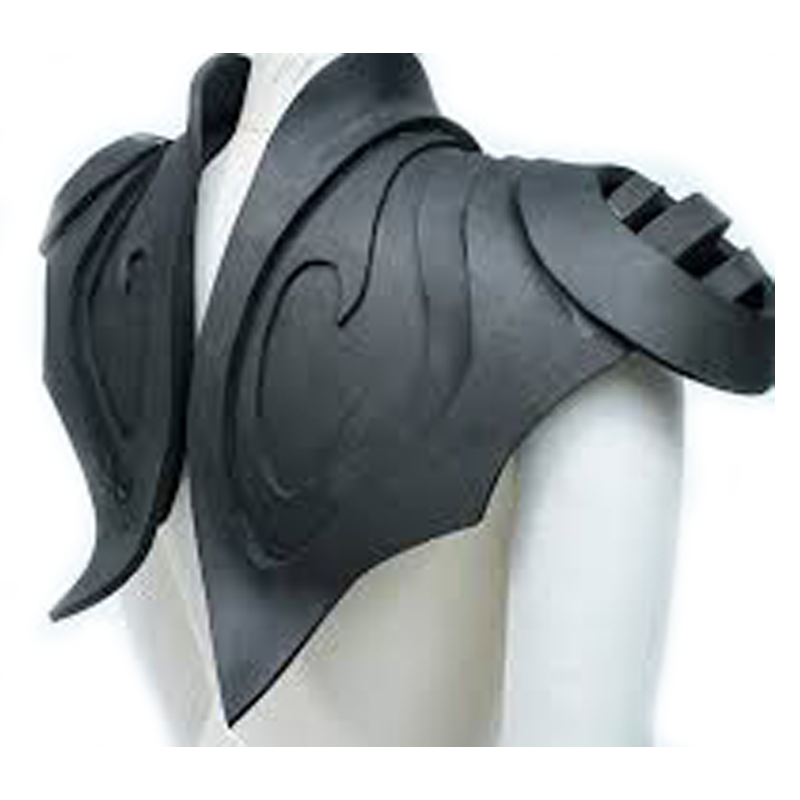
1.Creating Armor Pieces: EVA foam is ideal for making armor pieces due to its flexibility and durability.
To create pieces like chest plates, gauntlets, or helmets, use templates to cut out the foam, heat and shape the pieces, and then assemble them using adhesive.
Detailing can be added with paint or additional foam layers.
2.Designing Accessories: For cosplay accessories such as weapons, shields, or wings, mold the foam into the desired shape using heat and forms.
Reinforce high-stress areas with additional layers or supports to ensure durability during use.
Home Decor
1. Custom Wall Panels: EVA foam can be used to create lightweight and customizable wall panels.
Design intricate patterns or textures and attach the panels to your walls for a unique and stylish look. Paint or finish them to match your interior décor.
2. Decorative Props: Craft decorative items such as frames, sculptures, or ornaments.
EVA foam’s versatility allows for creative designs and detailed work. Paint or embellish these items to fit your home’s aesthetic.
Educational and Prototype Models
1. Building Models: Use EVA foam to construct educational models or prototypes.
Its ease of cutting and shaping makes it ideal for creating scaled models of architectural designs, mechanical parts, or scientific concepts.
2. Testing Designs: For engineers or designers, EVA foam provides a quick and cost-effective way to test and visualize prototypes.
The foam can be easily modified to iterate designs before moving on to more permanent materials.
Conclusion
Molding EVA foam is a valuable technique for creating a wide range of projects, from costumes and props to prototypes and decorative items.
By following this comprehensive guide, you can achieve professional-quality results and bring your designs to life with precision and creativity.
With practice and attention to detail, you’ll master the art of EVA foam molding and unlock new possibilities for your projects.