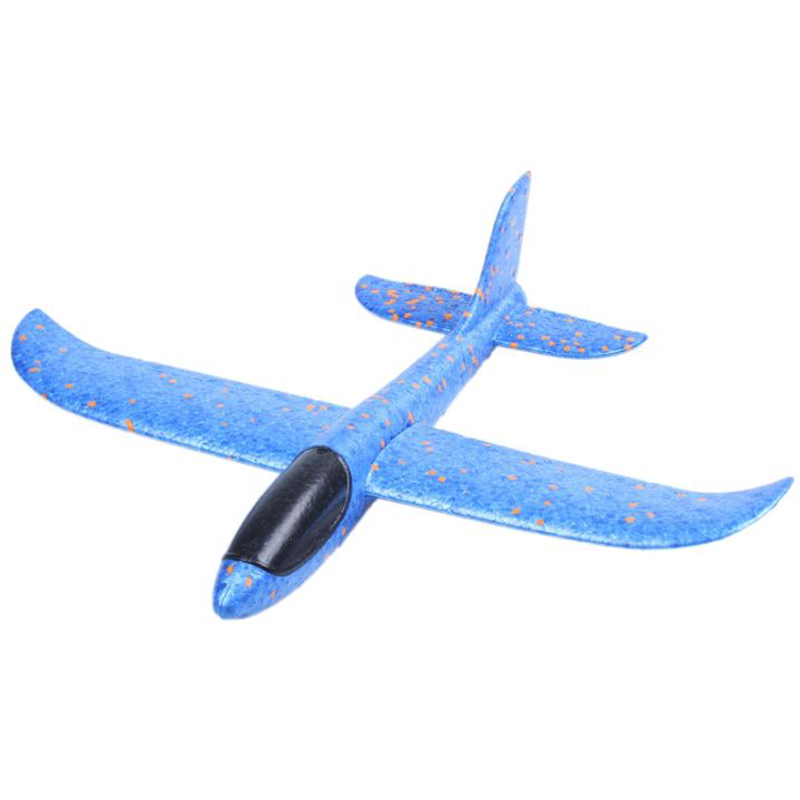
When it comes to building and customizing (Expanded Polypropylene)EPP airplanes, achieving a smooth finish is essential for both aesthetics and aerodynamics.
EPP is a lightweight and durable material commonly used in RC (Radio-Controlled) aircraft due to its impact resistance and flexibility.
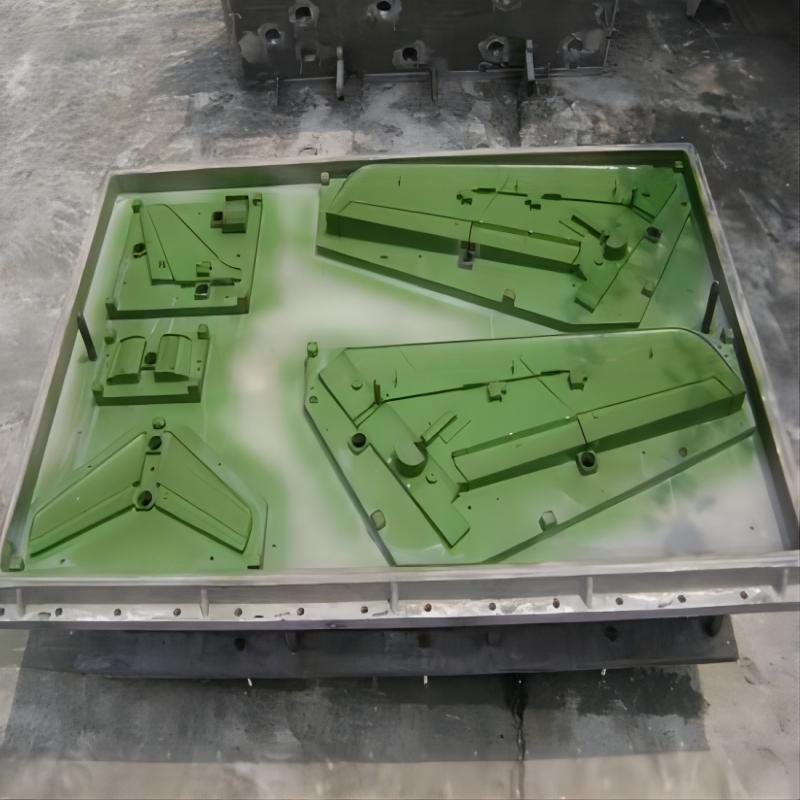
However, the molding process can leave visible marks that need to be smoothed out for optimal performance and appearance.
Understanding EPP and Mold Marks
EPP is favored in model aircraft construction for its ability to absorb impact without damage, making it ideal for beginners and experienced RC enthusiasts alike.
However, the molding process can leave behind seams, rough edges, and mold release marks that detract from the plane’s appearance and potentially affect its aerodynamics.
Tools and Materials You’ll Need
Before diving into the smoothing process, gather the following tools and materials:
1. Sandpaper: Various grits from coarse to fine (e.g., 80, 120, 220, 400 grit).
2. Foam Sanding Blocks: Ensure they are compatible with EPP foam.
3. Sanding Twigs or Sticks: Useful for reaching tight corners and edges.
4. X-Acto Knife: For precise trimming and shaping.
5. Heat Gun: Optional, for advanced smoothing techniques.
6. Paints and Fillers: Optional, for final touch-ups and customization.
Step-by-Step Guide to Smoothing Mold Marks
Step 1: Inspect the Surface
Carefully examine your EPP airplane for mold marks, seams, and imperfections.
Note areas that require smoothing and prioritize high-visibility areas such as wing surfaces and fuselage.
Step 2: Start with Coarse Sandpaper
Begin smoothing by using coarse sandpaper (around 80 grit) to remove prominent mold marks and rough edges.
Work in a circular or back-and-forth motion, applying gentle pressure to avoid damaging the foam.
Step 3: Progress to Finer Grits
Gradually switch to finer grits (120, 220, and up to 400 grit) as you refine the surface.
Each successive grit will smooth out the scratches left by the previous one, resulting in a progressively smoother finish.
Step 4: Use Foam Sanding Blocks
Foam sanding blocks conform better to the curves and contours of the airplane’s surface compared to traditional sandpaper.
Use them with the finer grits to achieve a uniform finish without creating flat spots.
Step 5: Address Tight Areas with Sanding Twigs
For areas that are difficult to reach with sandpaper or sanding blocks, use sanding twigs or sticks.
These tools are especially useful for cleaning up seams along edges and corners.
Step 6: Consider Heat Shaping
Advanced modelers may use a heat gun to lightly heat the surface of the EPP foam, which can help smooth out minor imperfections and blend seams.
Exercise caution to avoid overheating and warping the foam.
Step 7: Final Inspection and Touch-Ups
Once satisfied with the smoothness of the surface, inspect the entire airplane under different lighting conditions to identify any remaining imperfections.
Use an X-Acto knife to trim any excess foam and apply filler or paint as needed for a flawless finish.
Advanced Techniques for Perfecting Your EPP Airplane
Beyond the basic steps outlined, there are advanced techniques and considerations that can further enhance the smoothness and overall quality of your EPP airplane:
1. Wet Sanding: For an ultra-smooth finish, consider wet sanding with fine grit sandpaper (400 grit or higher).
Wet sanding reduces friction and prevents the sandpaper from clogging, resulting in a finer finish.
2. Filling and Priming: Use lightweight spackling or filler to fill in any remaining imperfections, such as small dents or pits.
After filling, sand the area smooth and apply a primer designed for foam surfaces to ensure a uniform base for painting.
3. Painting Techniques: Experiment with different painting techniques to further enhance the appearance of your airplane.
Use masking tape to create sharp lines between colors, and apply multiple thin coats of paint to avoid adding unnecessary weight to the aircraft.
4. Polishing: Once painted, consider using a fine polishing compound or automotive wax to achieve a glossy, smooth finish.
This step not only enhances the visual appeal but also provides a protective layer against UV damage and minor scratches.
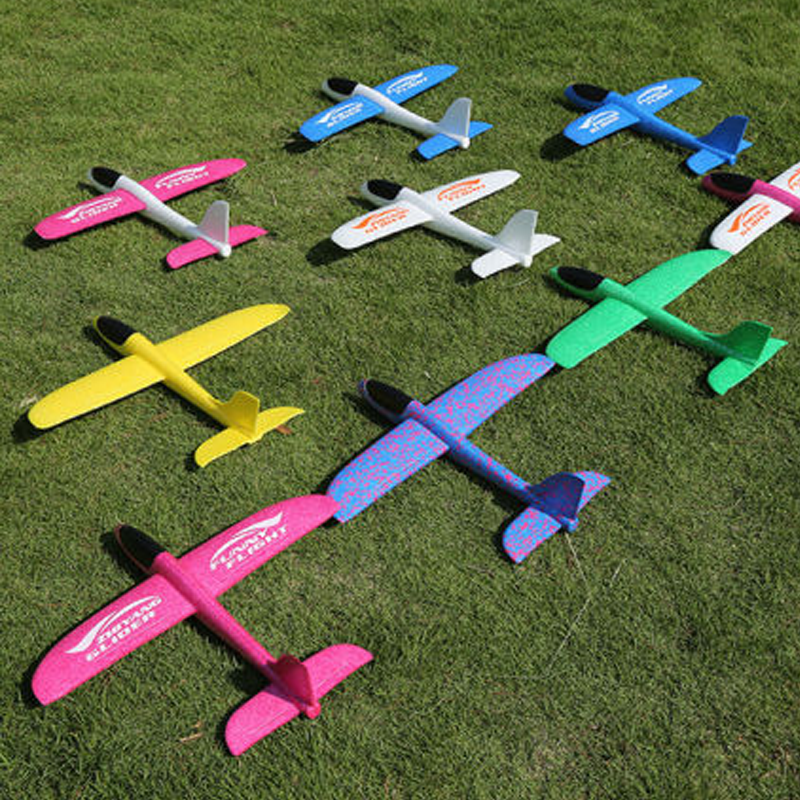
5. Customization Options: Take advantage of the smooth surface to add decals, stickers, or custom graphics to personalize your EPP airplane.
Ensure any additional weight from decorations is balanced to maintain optimal flight characteristics.
Safety Considerations
When working with tools and materials, prioritize safety to prevent injuries and ensure the longevity of your model aircraft:
- Eye Protection: Wear safety goggles to protect your eyes from dust and debris generated during sanding.
- Respiratory Protection: If sanding indoors or in a confined space, use a dust mask or respirator to avoid inhaling airborne particles.
- Workspace Ventilation: Work in a well-ventilated area or consider using a dust extraction system to minimize airborne particles.
Maintenance and Care Tips
Once you’ve achieved the ultimate smooth finish on your EPP airplane, it’s important to maintain its appearance and performance over time.
Here are some maintenance and care tips to keep your aircraft in top condition:
1. Storage: Store your EPP airplane in a cool, dry place away from direct sunlight and extreme temperatures. This helps prevent the foam from warping or deforming over time.
2. Cleaning: Regularly clean your airplane after flights to remove dirt, debris, and any residue that may accumulate.
Use a soft cloth or sponge with mild soap and water to gently wipe down the surfaces.
3. Inspection: Periodically inspect your airplane for any signs of wear and tear, such as cracks, loose components, or damaged paint.
Address any issues promptly to prevent further damage during flights.
4. Transport: When transporting your EPP airplane, use a sturdy carrying case or box to protect it from bumps and impacts.
Secure any loose components or accessories to prevent them from shifting during transport.
5. Flight Conditions: Be mindful of the weather conditions when flying your airplane.
Avoid flying in strong winds or rainy conditions that may affect the performance and durability of the foam.
6. Repairs: If your airplane sustains damage during flights, such as dents or scratches, use lightweight filler or epoxy designed for foam to repair and smooth out the affected areas.
Sand and repaint as needed to restore the smooth finish.
7. Battery Maintenance: If your airplane is electric-powered, properly maintain and charge the batteries according to manufacturer recommendations.
Ensure the batteries are securely installed and balanced to optimize flight performance.
Conclusion
Achieving a smooth surface on your EPP airplane not only enhances its appearance but also improves its performance by reducing drag and turbulence.
By following these advanced tips and safety considerations, you can prolong the life of your EPP airplane, and transform your model aircraft into a sleek and professional-looking machine that performs as good as it looks.