Mold for injection Molding Machine is more than just a tool; it’s a high-precision, complex assembly of steel or aluminum that defines the shape, quality, and manufacturability of your plastic product. Getting the mold right is the single most critical factor in the success of any injection molding project. This ultimate guide will demystify the world of injection molds, covering everything from basic components and types to the intricate design process and cost drivers. Whether you’re an engineer, a product designer, or an entrepreneur bringing a new product to market, this article will equip you with the knowledge you need to navigate this complex field.
What is Mold for Injection Molding Machine?
At its simplest, an injection mold is a hardened steel or aluminum block that has been meticulously machined to contain a hollow cavity in the shape of the desired plastic part. It performs three critical functions:
- Shaping: It gives the molten plastic its form.
- Cooling: It extracts heat from the plastic, causing it to solidify.
- Ejecting: It releases the finished part.
The mold is mounted onto the platens of an injection molding machine. Molten plastic is injected under high pressure into the mold cavity. After a cooling period, the mold opens, and the solidified part is ejected, ready for the cycle to begin again. This cycle can repeat millions of times, making the mold a long-term asset for mass production.
Anatomy of Mold for Injection Molding Machine
To understand how a mold works, you need to know its key components. A standard injection mold consists of two primary halves:
- The “A” Side (Fixed Half): Mounted on the fixed platen of the machine. It usually contains the sprue bushing and the main cavity.
- The “B” Side (Moving Half): Mounted on the moving platen. It typically houses the core, ejection system, and often the runners.
Here are the essential components within these two halves:
| Component | Description & Function |
|---|---|
| Mold Base | The foundation, a set of standardized steel plates that house all custom components. It’s the “chassis” of the mold. |
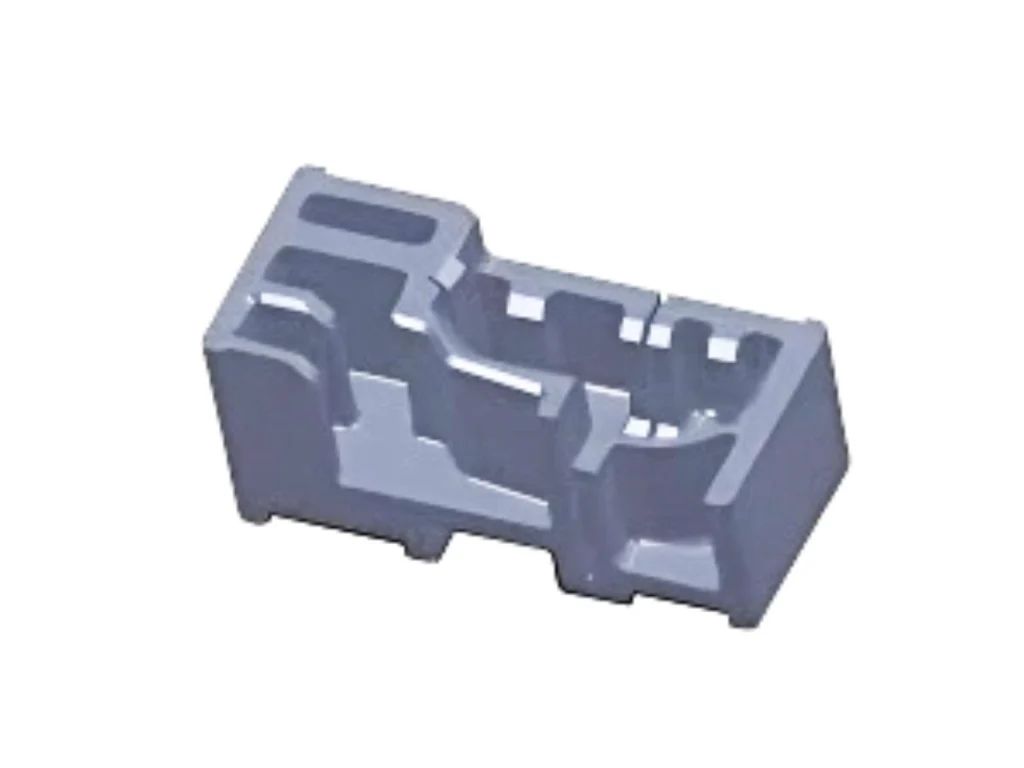
| Cavity & Core | The void that creates the part. The Cavity forms the external shape; the Core forms the internal shape. |
| Sprue Bushing | The entry point from the machine nozzle into the mold. It’s a funnel-shaped channel. |
| Runner System | The network of channels that carries molten plastic from the sprue to the individual part cavities. |
| Gate | The small, precise opening at the end of the runner where plastic enters the cavity. Gate design is crucial for part quality. |
| Ejection System | The mechanism that pushes the cooled part out of the mold. Includes ejector pins, sleeves, blades, and stripper plates. |
| Cooling Channels | A network of passages drilled through the mold plates. Circulating coolant (water or oil) controls temperature, which is vital for cycle time and part quality. |
| Vents | Small, shallow channels at the parting line that allow trapped air to escape during injection, preventing defects. |
| Side-Actions (Slides & Lifters) | Moving components that form undercuts—features that prevent the part from being ejected straight. They are actuated by angled pins or hydraulic cylinders. |
| Guide Pins & Bushings | Ensure perfect alignment between the “A” and “B” halves when the mold closes, preventing damage. |
The Different Types of Mold for Injection Molding Machine
Molds are categorized by their structure and runner system. Choosing the right type is a fundamental decision.
Classification by Runner System
1. Two-Plate Mold
- Description: The simplest and most common type. It has a single parting line, splitting the mold into two plates. The runner system and the parts are on the same plane and are ejected together.
- Pros: Simple design, reliable, lower cost.
- Cons: Requires manual or robotic separation of the parts from the runner (an process called “degating”).
2. Three-Plate Mold
- Description: Features two parting lines. This allows the runner system to be automatically separated from the parts and ejected separately during the mold opening sequence.
- Pros: Gates can be located at the top center of a part (e.g., for a cup), enabling automatic degating.
- Cons: More complex, expensive, and larger than a two-plate mold.
3. Hot Runner Mold
- Description: An advanced system where the runner is housed in a separate, heated manifold plate. The plastic in the runners stays molten and is injected directly into the cavities through heated nozzles.
- Pros: No solid runner is produced. This eliminates material waste, reduces cycle time, and allows for full automation.
- Cons: Significantly higher cost and complexity; not suitable for all materials (e.g., heat-sensitive plastics).
Classification by Structure and Production Volume
1. Prototype Mold
- Material: Typically aluminum.
- Use Case: For producing low volumes of parts (50 – 10,000) for design validation, market testing, or functional prototyping.
- Pros: Faster and cheaper to machine.
- Cons: Softer material, less durable, not suitable for high-volume production.
2. Production Mold
- Material: Hardened steel (e.g., P20, H13, S7).
- Use Case: For high-volume manufacturing (100,000 to millions of cycles).
- Pros: Extremely durable, can withstand high pressure and abrasion.
- Cons: Longer lead times and higher cost to manufacture.
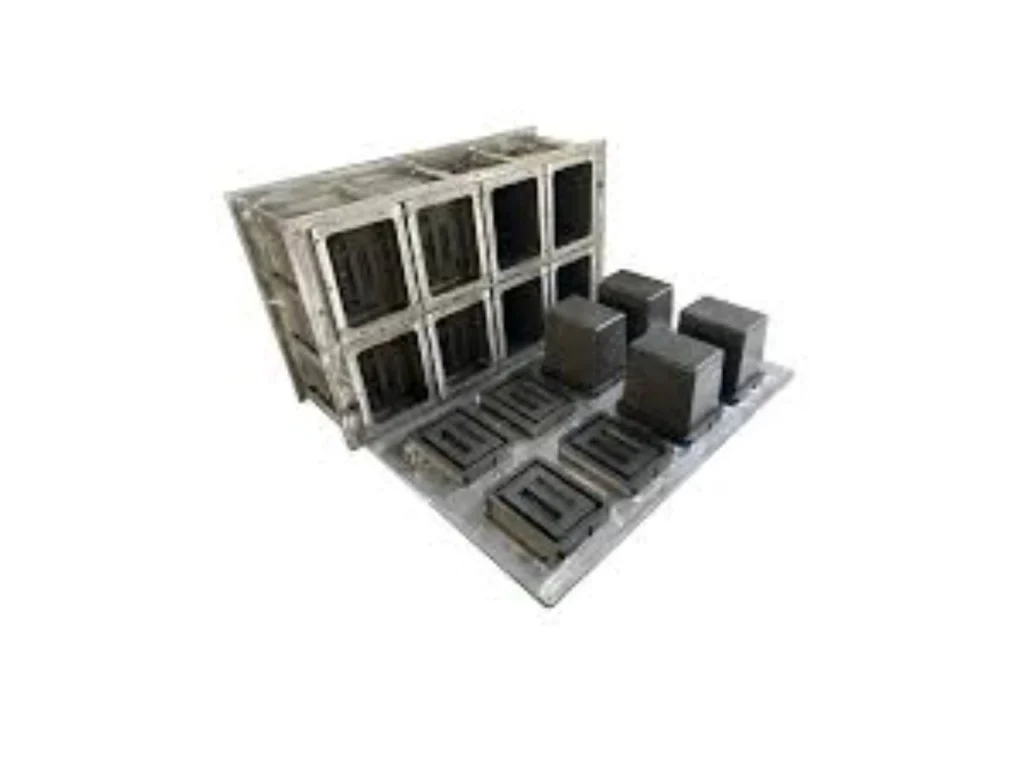
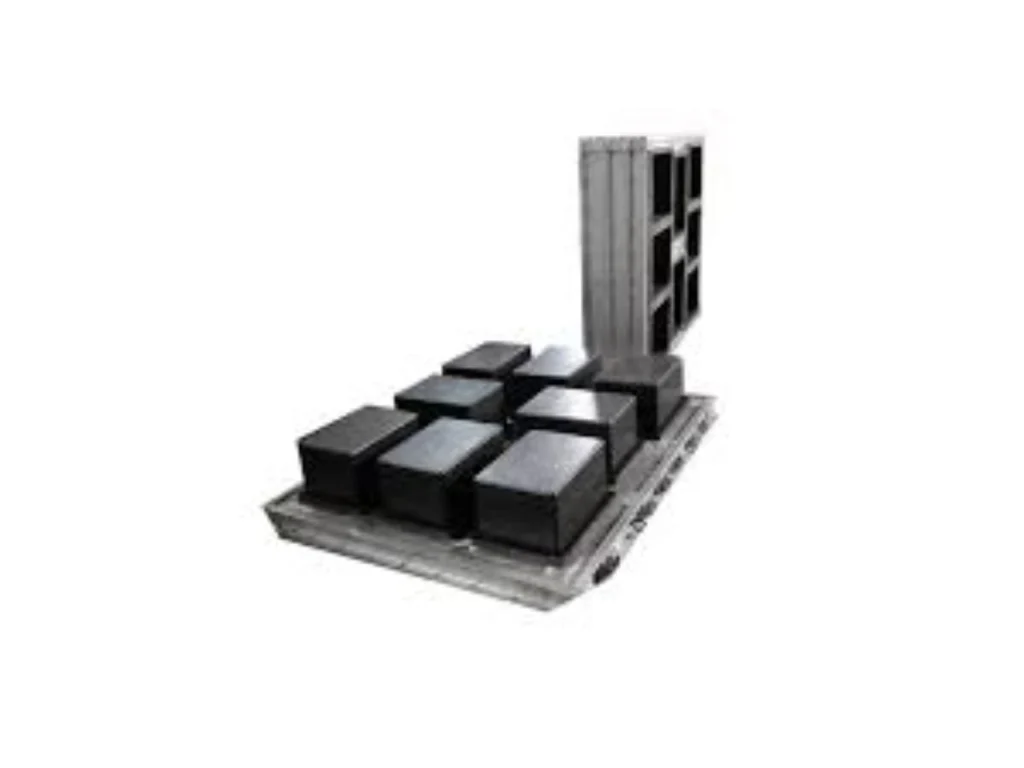
3. Multi-Cavity Mold
- Description: A single mold that produces multiple identical parts per cycle (e.g., 4, 8, 16, or more).
- Use Case: Mass production of small parts to maximize output.
- Benefit: Lowers the per-part cost dramatically.
4. Family Mold
- Description: A single mold that produces multiple different parts that form an assembly (e.g., a lid and a base).
- Use Case: For products where all components are used together.
- Risk: All cavities must have similar volumes and fill at the same rate, which is difficult to achieve.
5. Unscrewing Mold
- Description: Contains a rotating core that forms internal or external threads. After injection, the core unscrews to release the part.
- Use Case: For producing threaded parts like bottle caps and connectors.
The Mold Manufacturing Process
Creating a production-ready mold is a multi-step process that requires precision engineering and skilled craftsmanship.
- Part Design & DFM (Design for Manufacturability): The process starts with a well-designed plastic part. Engineers perform a DFM analysis to ensure the part can be molded effectively, suggesting changes like adding draft, uniform wall thickness, and appropriate radii.
- Mold Flow Analysis (CAE): Software simulates how the molten plastic will fill the mold cavity. This virtual prototype identifies potential issues like air traps, weld lines, and sink marks before steel is cut, saving immense time and cost.
- Mold Design (CAD): Mold designers create detailed 3D models and 2D drawings of the entire mold assembly, specifying every component, tolerance, and material.
- Material Selection: The appropriate steel grade is chosen based on production volume, plastic material, and part complexity.
- Machining & Fabrication:
- Rough Machining: Large blocks of steel are cut to size using CNC milling.
- Heat Treatment: The steel is hardened and tempered to achieve the required durability.
- Precision Machining: CNC milling, EDM (Electrical Discharge Machining), and deep-hole drilling create the precise cavities, cores, and cooling channels.
- Grinding & Polishing: Surfaces are finished to a mirror-like polish or a specific texture, which is replicated onto the plastic part.
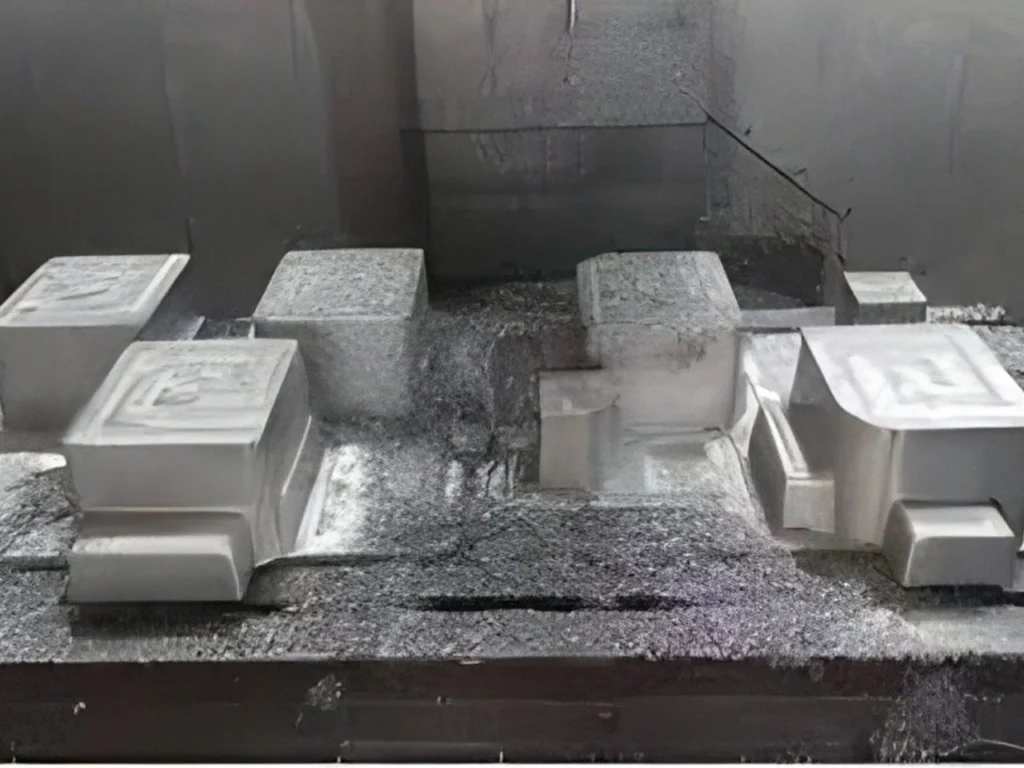
- Assembly & Fitting: All components are meticulously assembled by skilled mold makers. This is a painstaking process where everything must fit with extreme precision.
- Sampling & Tryout: The finished mold is installed in an injection molding machine for a first article inspection. Initial parts are produced, measured, and inspected. Minor adjustments are made to the mold to ensure the parts meet all specifications.
Critical Design for Manufacturability (DFM) Principles
A successful mold depends on a moldable part. Here are the key DFM principles every designer must know:
- Draft: A slight taper (typically 1°-3°) on all walls parallel to the mold opening direction. This is non-negotiable. It allows the part to eject cleanly.
- Uniform Wall Thickness: This is the golden rule. Variations cause sink marks, warping, and internal stresses. Use ribs to add strength instead of thickening walls.
- Ribs and Gussets: These are thin supporting walls that provide structural rigidity without creating thick sections. They should be 50-70% of the main wall’s thickness.
- Fillets and Radii: Always use rounded corners. Sharp 90-degree angles create stress concentrations that can lead to part failure and are difficult to machine in the mold.
- Undercuts: Features that prevent straight ejection. They require complex and expensive side-actions. Redesign to eliminate them if possible.
- Gate Location: The gate leaves a vestige (mark). Its location affects the part’s strength, appearance, and how the plastic flows. Discuss the optimal gate location with your mold designer early on.
Understanding the Cost of Injection Mold
Injection molds are a significant capital investment. Costs can range from $3,000 for a simple aluminum prototype mold to $100,000+ for a complex, multi-cavity steel production mold with hot runners.
Key Cost Drivers:
- Part Size and Complexity: Larger parts require more steel and larger machines. Complex geometries with undercuts require more complex mold structures (slides, lifters).
- Number of Cavities: A 4-cavity mold costs significantly more than a 1-cavity mold, but it also produces four times the parts per cycle.
- Mold Material: Aluminum is cheaper than steel. Within steel, different grades (P20, H13, Stainless) have different costs.
- Surface Finish: A mirror polish is more expensive than a simple texture. Parting line witness lines can be polished out for a higher cost.
- Tolerances: Tighter tolerances require more precise (and expensive) machining and longer lead times.
- Runner System: A hot runner system can easily double the cost of the mold compared to a cold runner system.
Conclusion
The injection mold is far more than a simple tool; it is the physical embodiment of your product’s design and the cornerstone of its manufacturing success. Investing time and resources in a well-designed and properly manufactured mold pays massive dividends in part quality, production efficiency, and long-term profitability.
By understanding the types, components, and design principles outlined in this guide, you are now equipped to engage with mold makers and injection molders confidently. Ask the right questions, prioritize DFM, and view your mold not as a cost, but as a critical investment in bringing your product to life.
Ready to start your injection molding project? Begin with a comprehensive DFM analysis and partner with a reputable mold maker to turn your concept into a high-quality, mass-producible reality.