Creating intricate metal castings often requires precise molds that can faithfully replicate the desired shapes. One innovative method gaining popularity among artisans and industrial craftsmen is the lost foam casting technique.
What is a Lost Foam Mold?

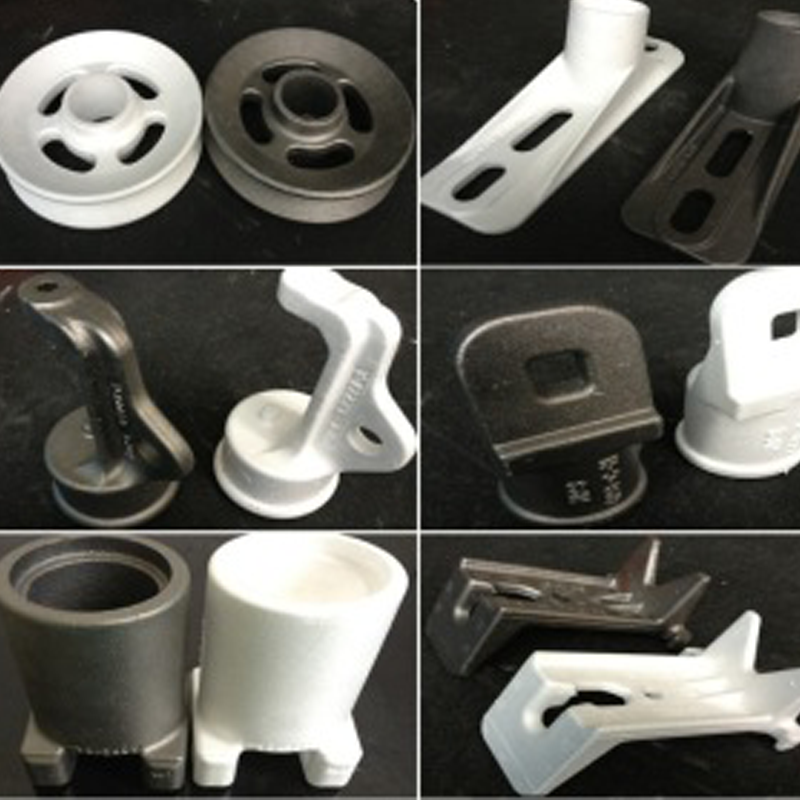
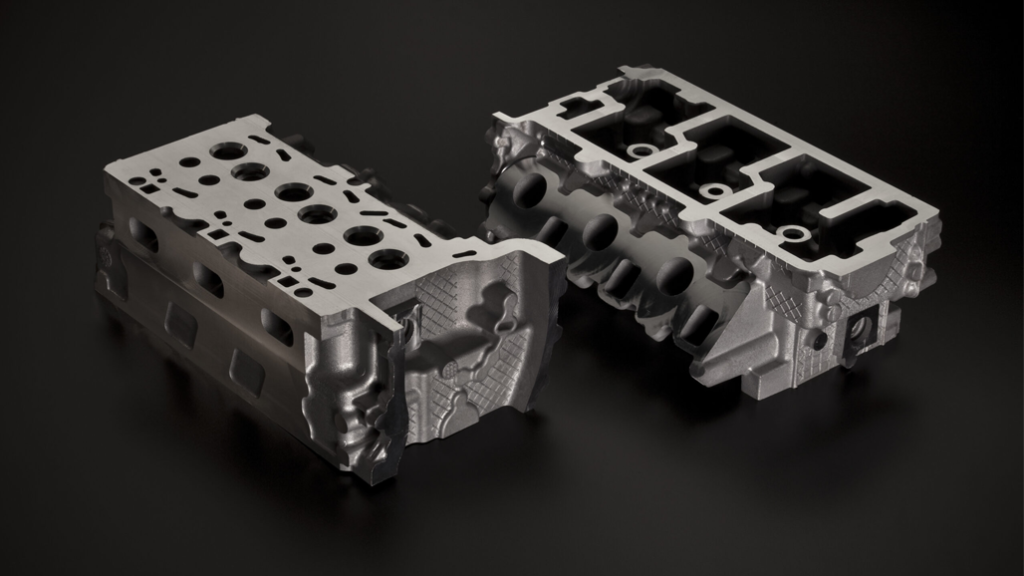
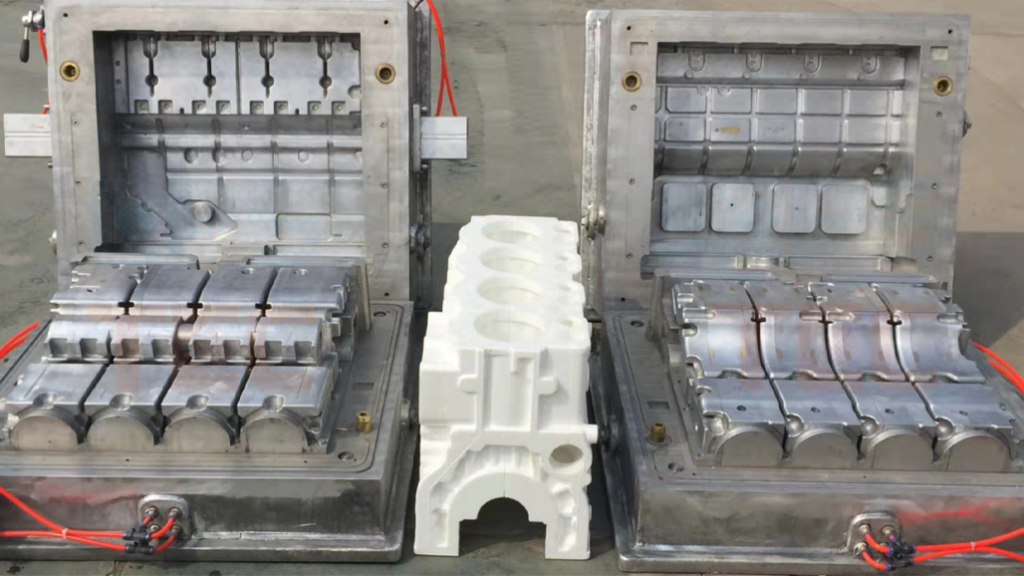
A lost foam mold, also known as evaporative pattern casting, is a technique used to create intricate metal castings.involves the use of a foam pattern that is coated with refractory material and then buried in sand. When molten metal is poured into the mold, the foam pattern evaporates due to the heat, leaving behind a precise metal casting that mirrors the original foam pattern. This technique eliminates the need for complex mold-making equipment and facilitates the creation of intricate designs.
Materials Required
Before diving into the process, gather the following materials:
– Foam Pattern: Create or obtain a foam pattern that represents the final casting design.
– Refractory Coating: A mixture of refractory material and binder used to coat the foam pattern.
– Sand: Fine-grain sand suitable for casting and molding.
– Molten Metal: The metal of choice for casting (e.g., aluminum, bronze, iron).
– Tools: Crucible or furnace for melting metal, tongs, safety gear (gloves, goggles), and a ventilated workspace.
Step-by-Step Guide to Making a Lost Foam Mold

1. Design and Carve the Foam Pattern
Begin by designing or obtaining a foam pattern that matches the intended final product. Use high-density foam, such as expanded polystyrene (EPS), to carve or machine the pattern. Ensure the pattern includes any necessary vents and gates for the metal to flow into the mold.
2. Apply Refractory Coating
Once the foam pattern is ready, apply a refractory coating to the entire surface. The coating is typically made of a mixture of refractory material (like silica or zircon) and a binder (often colloidal silica). This coating provides a protective barrier during the casting process.
3. Assemble the Mold
Prepare a flask or container large enough to accommodate the foam pattern. Fill the flask with fine-grain sand, ensuring it is tightly packed around the pattern. The sand provides support during the casting process and helps maintain the shape of the mold.
4. Embed the Foam Pattern
Carefully embed the coated foam pattern into the compacted sand. Ensure the pattern is positioned correctly and securely within the mold. Any misalignment or movement can affect the final casting quality.
5. Pour Molten Metal
Heat the chosen metal in a crucible or furnace until it reaches its melting point. Exercise caution and follow safety protocols when handling molten metal. Once molten, carefully pour the metal into the mold, ensuring a steady and controlled flow.
6. Cooling and Removal
Allow sufficient time for the metal to cool and solidify within the mold. The cooling time varies depending on the metal type and thickness of the casting. Once cooled, carefully remove the sand and any remnants of the foam pattern. Clean and finish the casting as needed to achieve the desired final product.
7. Refine and Polish
After removing the casting from the mold, inspect it for any imperfections or rough edges. Use appropriate tools to refine the surface and polish the casting to achieve a smooth finish. This step is crucial for enhancing the final aesthetic and functional qualities of your metalwork.
8. Experiment with Variations
Explore different variations of the lost foam casting technique to expand your skills and creativity. Try using alternative materials for the foam pattern or experimenting with various types of refractory coatings to achieve different surface finishes and properties in your castings.
Advantages of Lost Foam Casting

– Complex Shapes: Allows for the creation of intricate designs and shapes that are difficult to achieve with traditional methods.
– Cost-Effective: Reduces tooling costs associated with conventional casting techniques.
– Reduced Machining: Often produces near-net shapes, minimizing the need for extensive machining.
Considerations and Tips

– Pattern Quality: Invest time in creating a high-quality foam pattern to ensure accurate and precise castings.
– Safety First: Handle molten metal with extreme caution, using appropriate safety gear and following safety guidelines.
– Practice Makes Perfect: Like any craft, mastering lost foam casting takes practice. Experiment with different patterns and materials to refine your technique.
Common Challenges and Solutions
1. Pattern Collapse: Ensure the foam pattern is adequately supported and surrounded by tightly packed sand to prevent collapse during metal pouring.
2. Surface Imperfections: Address surface imperfections by adjusting the composition of the refractory coating, refining your pouring technique, or enhancing post-casting finishing processes.
3. Metal Flow Control: Achieve consistent metal flow by designing effective gating and venting systems within your foam pattern and mold assembly.
Conclusion
Mastering the art of making a lost foam mold opens up a world of possibilities for creating intricate metal castings with minimal equipment. Whether you’re a seasoned artisan or a curious hobbyist, this technique offers a cost-effective and efficient way to produce custom metal components.
Whether you’re interested in creating custom jewelry, industrial components, or artistic sculptures, the lost foam casting process provides a cost-effective and rewarding approach to metal casting.
