
Molded foam packaging is everywhere—from the protective inserts in electronics boxes to the lightweight dunnage protecting automotive parts during shipment.
But how exactly do those tiny plastic beads transform into custom-shaped, protective packaging?
The process varies depending on the material, but the core principle remains the same: expandable polymer beads are heated, fused, and shaped within a mold to create lightweight, impact-absorbing structures.
Design and Tooling
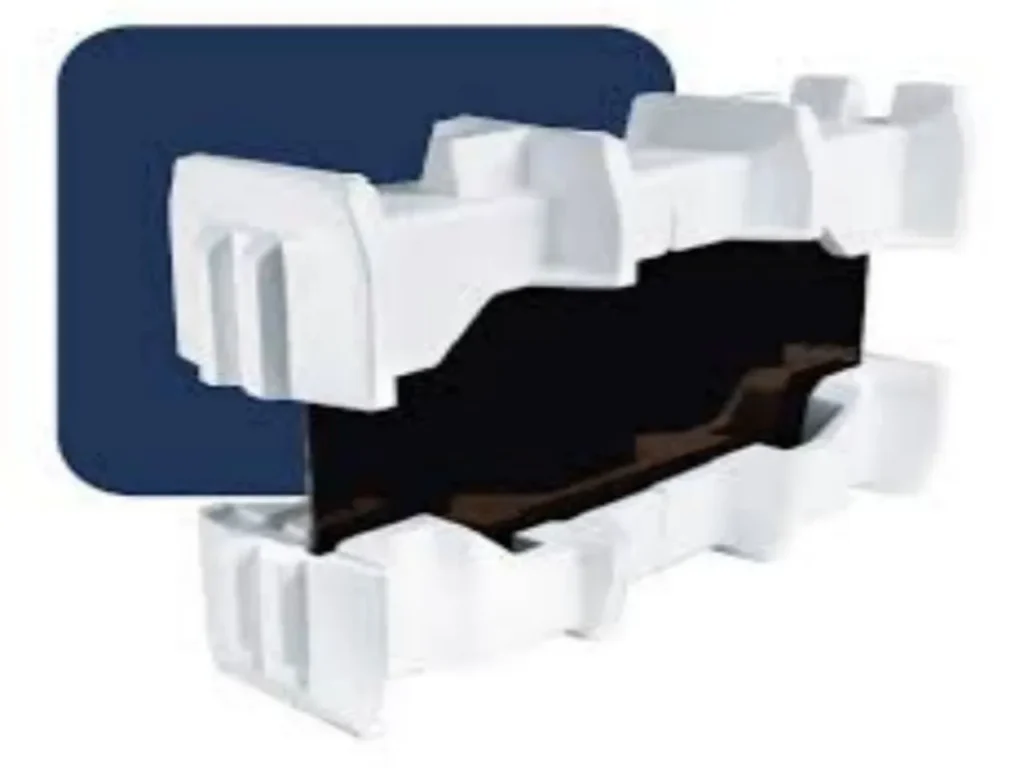
Before any foam can be molded, the mold itself must be designed and fabricated. This phase is critical because the mold determines the final shape, precision, and quality of every part produced.
Product Design and 3D Modeling
The process begins with customer requirements. Based on samples, drawings, or 3D CAD files provided by the customer, engineers design the three-dimensional geometry of the packaging product. This stage considers:
- The shape and dimensions of the item to be protected
- Required cushioning thickness and density
- Assembly and handling requirements
Mold Design
Once the product design is finalized, the mold design begins. Engineers create detailed 2D drawings of the product and develop the mold geometry. The process requirements and manufacturing methods determine the mold processing plan and material selection.
Pattern Making and Casting
A physical foam model (pattern) is created by skilled pattern makers. This pattern is then handed to casters who cast the mold embryo and components.
CNC Machining and Finishing
Programming engineers create machining programs, and CNC machining centers precision-process the mold components.
After machining, each core, cavity, and spare part is finished and inspected to verify precision dimensions.
Assembly and Quality Inspection
Once all components are completed, assemblers put the scattered parts together into a complete mold set. The finished mold undergoes a final factory inspection.
Only after passing inspection and producing qualified samples in a mold test is the mold approved for production.
The Foam Molding Process
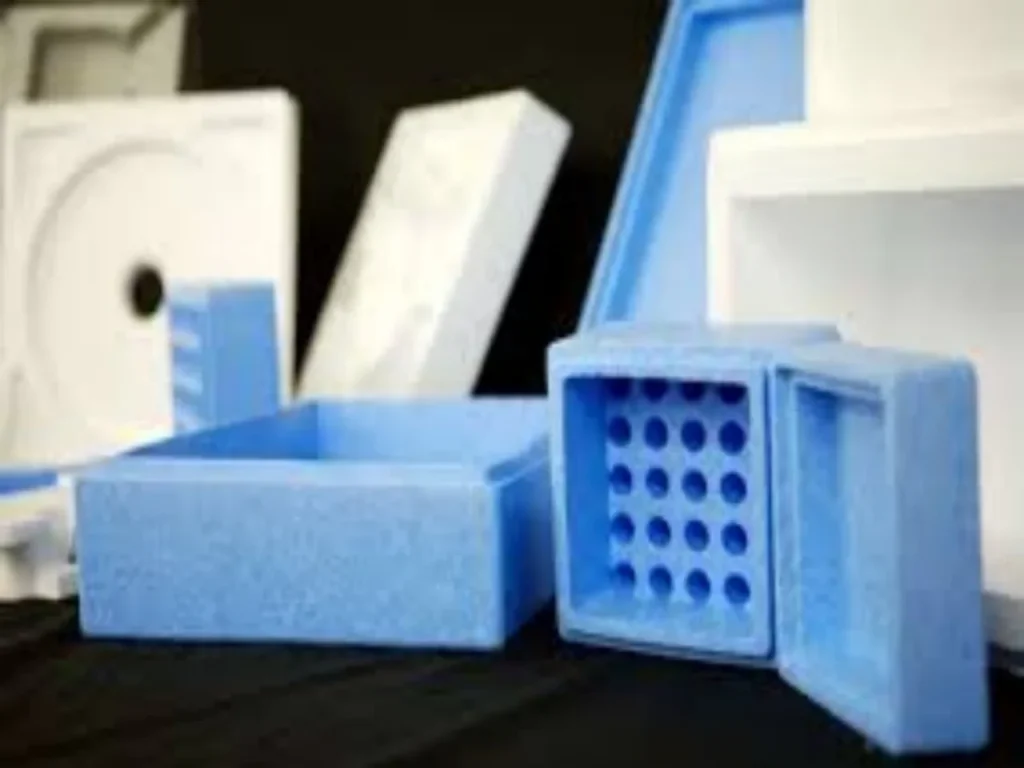
The most common method for manufacturing molded foam packaging is the bead foam process—used for materials like EPS (expanded polystyrene), EPP (expanded polypropylene), and EPE (expanded polyethylene).
This process involves transforming raw polymer beads into finished foam parts through a series of precisely controlled steps.
Raw Material — Polymer Beads
The journey begins with raw polymer beads. For EPS, these beads start as tiny plastic spheres—about 1 millimeter in diameter—derived from styrene monomer.
They are hollow and filled with a blowing agent (typically pentane for EPS).
For EPP, polypropylene resin is combined with other ingredients in a multi-step proprietary process to create consistently shaped beads.
Pre-Expansion
The raw beads are fed into a pre-expander—a specialized vessel where they are heated with steam.
For EPS, steam at approximately 200°C (392°F) causes the pentane blowing agent to expand inside the hollow bead chamber, allowing air to enter.
The beads expand to 40 to 50 times their original size. At this stage, the beads become approximately 90% air.
For EPP, the beads are pre-expanded for several hours in a steam chamber or with a blowing agent, after which the slightly larger beads are left to rest.
The pre-expansion process is carefully controlled to achieve the desired density for the final product.
Maturing / Curing
After pre-expansion, the beads cannot be molded immediately. They must undergo a maturing or curing period.
- EPS beads are typically left to mature for 1 to 3 days in large storage silos or hanging bags. This allows the material to cool and the pentane gas to liquefy, creating a partial vacuum inside the bead. The beads also stabilize their internal pressure to ensure good behavior during molding.
- EPP beads may rest for between 12 and 48 hours.
This resting period is essential for achieving consistent, high-quality molded parts.
Mold Filling
Once matured, the pre-expanded beads are injected or poured into the mold cavity.
For EPS, the beads are typically poured into the mold. For EPP, they are injected into molds—often using cost-effective multi-cavity aluminum molds.
The mold cavity has been pre-heated to the desired cure temperature to facilitate the fusion process.
Steam Heating and Fusion (Molding)
With the beads in place, the mold is sealed, and steam is introduced. This is the heart of the molding process.
Under the effect of heat and pressure:
- The beads expand further (an additional 10% growth for EPS)
- The beads soften and fuse together at their contact points
- The fused beads conform to the geometry of the mold
For EPS, the steam-fusing process typically takes 5 to 10 minutes.
The temperature requirements differ by material:
- EPS molding uses steam at approximately 100°C
- EPP molding requires higher temperatures, around 150°C
The steam penetrates the bead bed, and the beads sinter (weld) together at their contact points. This fusion creates a unitary, strong, and lightweight structure.
Cooling
After the beads have fully expanded and fused, the molded part must be cooled and stabilized within the mold.
Cooling methods vary:
- Water cooling is commonly used, with water circulated through the mold
- Vacuum cooling may be employed to remove residual moisture and accelerate the process
- Some processes use a combination of methods
For EPS, a vacuum is often applied to remove remaining water. The cooling stage is critical—if cooling is uneven or too rapid, the part can develop internal cavities or irregular shapes.
Demolding
Once the part is fully cooled and solidified, the mold opens and the finished foam part is ejected.
At this stage, the part has taken its final shape. The molded foam is now approximately 98% air (for EPS), making it extremely lightweight while maintaining structural integrity.
Alternative Processes
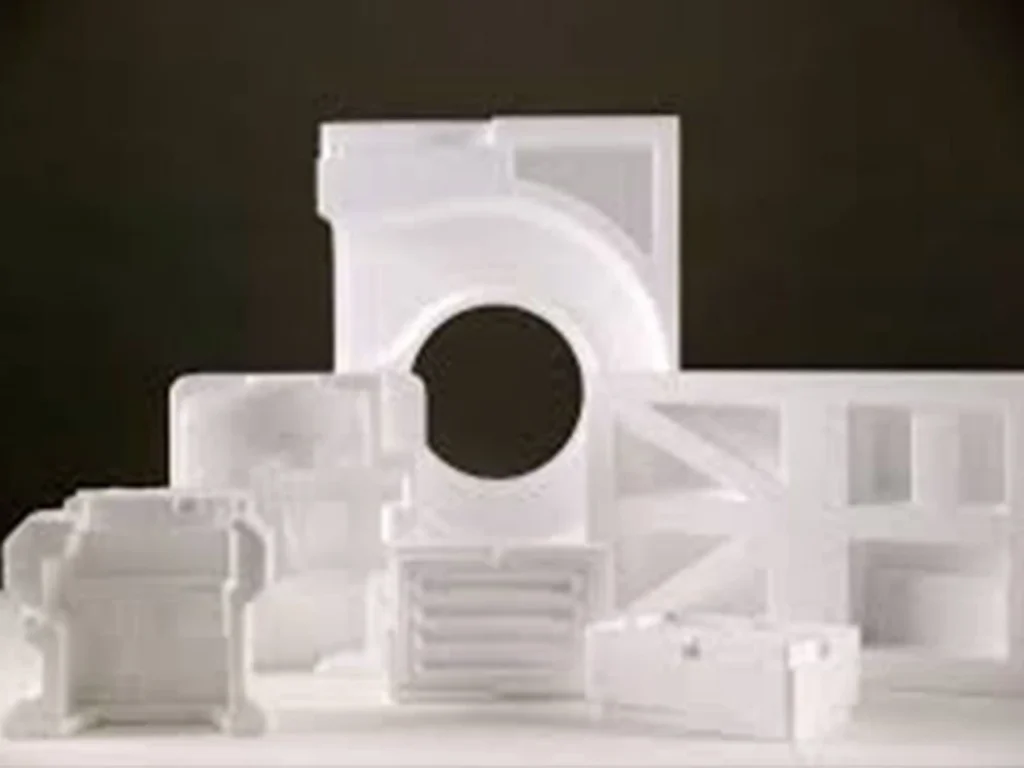
Foam-In-Place (FIP) Packaging
For applications requiring custom-fit packaging without permanent molds, foam-in-place technology offers an alternative.
In this process, a flowable foaming material (typically polyurethane) is dispensed into a container or mold.
A foam is poured over a sheet or directly into the packaging, and the mold box is closed until the foam cures.
Once the foam has set, the molded packing is removed and used to package the article.
This method is particularly useful for:
- Encapsulating articles in protective polyurethane
- Creating custom cushions directly in shipping containers
- Low-volume or prototype packaging needs
Reaction Injection Molding (RIM) for Polyurethane
For polyurethane foam parts, RIM is commonly used. A flowable material is introduced into a molding tool where it completes its chemical reaction, completely filling the cavity with foam.
Key steps include:
- Mixing the polyurethane components (polyol and isocyanate)
- Injecting the mixture into the mold
- Curing as the chemical reaction generates foam
- Cooling and demolding
The chemistry can be altered to change density, rigidity, and flexibility as required by the application.
Post-Processing
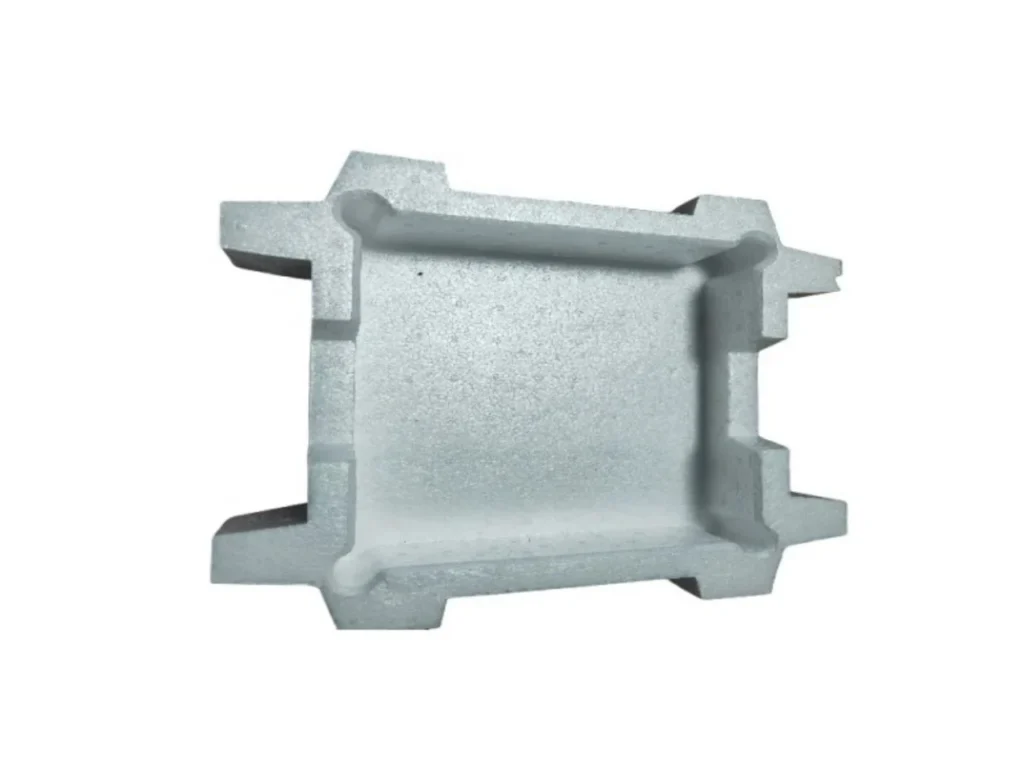
Cutting, Shaping, and Sizing
This is the most fundamental and common category of post‑processing. It brings the foam to its exact final dimensions and geometry.
| Operation | Description | Typical Applications |
|---|---|---|
| CNC Machining | Computer‑controlled routing or milling to create precise 3D shapes, channels, or cavities. | Complex contours, recesses for product fit, or intricate geometries. |
| Hot‑Wire Cutting | A heated nichrome wire vaporizes the foam as it passes through, producing smooth, clean cuts. | EPS and EPE blocks; cutting large slabs into sheets or simple profiles. |
| Die‑Cutting | A steel‑rule die presses through the foam to punch out shapes, similar to a cookie cutter. | Mass production of flat gaskets, pads, or interlocking inserts. |
| Contour Cutting | Follows a programmed path to create 2D or 3D outlines. | Custom shapes for protective corners or edge protectors. |
| Slitting / Splitting | Slices thick foam blocks into thinner sheets of precise thickness. | Producing sheets for laminating or further processing. |
| Convoluting | Cuts the foam surface into a convoluted (wavy) profile, increasing surface area and cushioning efficiency. | Packaging liners for fragile items. |
| Sawing, Grinding, and Boring | Traditional machining operations for heavy‑duty or large‑format foam blocks. | Preparing large blocks for further processing or creating holes for inserts. |
Surface Treatment and Coating
Surface treatments modify the foam’s appearance, adhesion, or protective properties.
- Adhesive Coating: Applying a pressure‑sensitive adhesive (PSA) to one or both sides turns the foam into a self‑adhesive gasket or mounting tape. This is done via spray, roller, or knife coating.
- Protective or Functional Coatings: For specialised applications (e.g., automotive or construction), foam may be coated with cement‑based slurries, synthetic plasters, or flame‑retardant layers to improve durability, fire resistance, or weatherability.
- Lamination: The foam is bonded to other materials—such as film, fabric, metal foil, or paper—to combine properties. For example, a foam pad may be laminated with a scrim fabric for tear resistance, or with a metallised film for reflective insulation.
- Anti‑static or Conductive Coatings: Used for packaging sensitive electronic components, these coatings dissipate static electricity.
Assembly and Joining
Many foam packaging products are not single pieces; they consist of multiple foam components or integrate non‑foam hardware.
- Adhesive Bonding: Components are joined using solvent‑based, hot‑melt, or water‑based adhesives. For example, the inner and outer shells of a foam cooler are glued together.
- Thermal Welding / Heat Sealing: Heat and pressure fuse foam surfaces together without adhesives. This is common for EPP and PE foams.
- Hardware Installation: Hinges, latches, handles, or metal inserts are attached to foam assemblies—especially for reusable containers, coolers, and cases.
- Mechanical Fastening: Rivets, screws, or snap‑fit features can be used, though less common due to foam’s compressibility.
Printing and Decoration
Adding visual information or branding transforms a functional foam piece into a marketable package.
- Screen Printing: A mesh stencil transfers ink onto the foam surface. Ideal for simple logos, batch numbers, or usage instructions.
- Pad Printing: A silicone pad picks up ink from an etched plate and presses it onto irregular or curved foam surfaces.
- Thermal Transfer Printing: Heat transfers a printed design from a carrier film to the foam. Often used for high‑resolution graphics.
- Labeling: Pre‑printed labels (adhesive or heat‑shrink) are applied to the foam product.
- Hot Stamping: A heated die presses foil onto the foam to create metallic or coloured branding.
Quality Control and Testing
Every finished part must meet dimensional, physical, and visual standards before shipment.
- Dimensional Inspection: Verifies that the part matches the CAD model using callipers, gauges, or CMM (coordinate measuring machines).
- Density Measurement: Confirms the foam’s weight per volume, which correlates with cushioning performance.
- Visual Inspection: Checks for surface defects such as bubbles, discolouration, burns, or incomplete fusion.
- Performance Testing: Simulates real‑world conditions—compression testing, drop testing, vibration testing, and thermal cycling ensure the packaging protects the product as designed.
- Moisture Content Check: For EPS, residual moisture from steam moulding can affect performance; measurements ensure it is within specification.
The Complete Process Flow
| Phase | Step | Description |
|---|---|---|
| Design & Tooling | 1. Product Design | Create 3D models based on customer requirements |
| 2. Mold Design | Develop 2D drawings and mold geometry | |
| 3. Pattern & Casting | Create patterns and cast mold components | |
| 4. CNC Machining | Precision-machine mold parts | |
| 5. Assembly & Inspection | Assemble and qualify the mold | |
| Molding | 6. Raw Material | Polymer beads with blowing agent |
| 7. Pre-Expansion | Steam expands beads to 40-50× original size | |
| 8. Maturing | Beads rest 1-3 days to stabilize | |
| 9. Mold Filling | Beads injected/poured into heated mold | |
| 10. Steam Fusion | Steam fuses beads into solid shape | |
| 11. Cooling | Water/vacuum cools the molded part | |
| 12. Demolding | Finished part ejected from mold | |
| Finishing | 13. Cutting | Blocks cut to final shape (if needed) |
| 14. Customization | Printing, labeling, or assembly | |
| 15. Quality Control | Inspection and testing |
Material-Specific Considerations
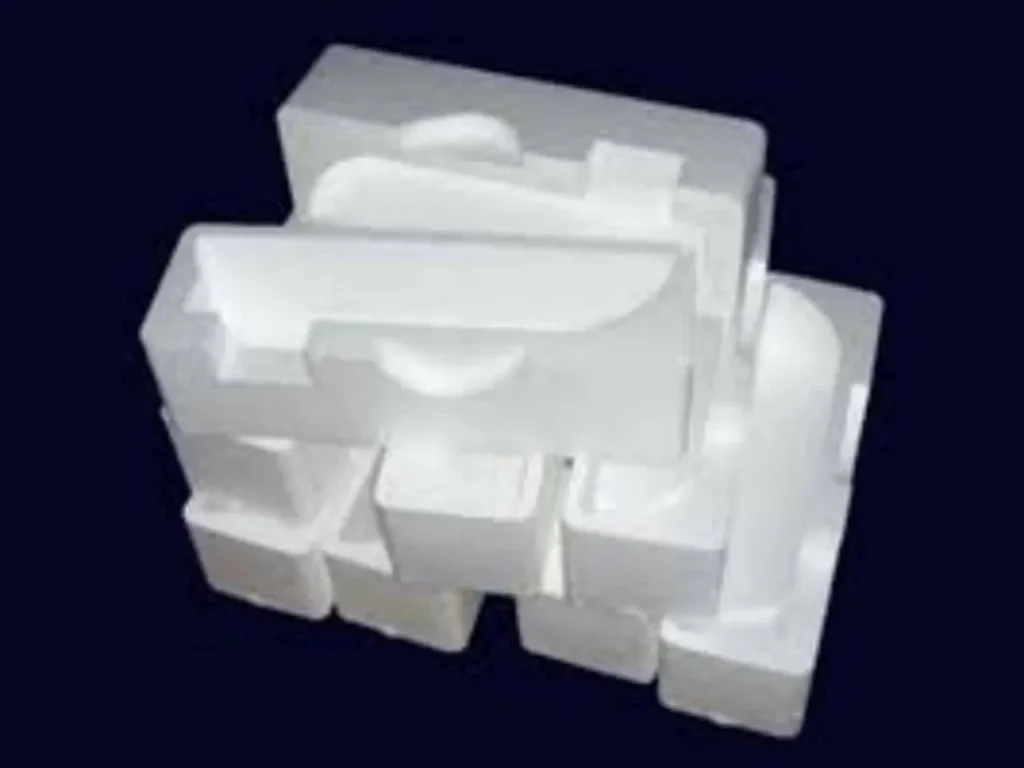
EPS (Expanded Polystyrene)
- Blowing agent: Pentane
- Pre-expansion: 200°C steam, 40-50× expansion
- Maturing: 1-3 days
- Molding temperature: ~100°C steam
- Final air content: ~98%
- Applications: Electronics packaging, insulation, disposable food containers
EPP (Expanded Polypropylene)
- Pre-expansion: Several hours in steam chamber
- Maturing: 12-48 hours
- Molding temperature: ~150°C steam
- Key advantage: Superior impact resistance and recovery
- Applications: Automotive parts, reusable dunnage, protective cases
Polyurethane (PU) Foam
- Process: Reaction injection molding (RIM) or foam-in-place
- Curing: Chemical reaction generates foam
- Key advantage: Can be formulated for varying densities and rigidities
- Applications: Encapsulation packaging, custom cushions
Conclusion
The manufacturing of molded foam packaging is a sophisticated, multi-stage process that transforms simple polymer beads into precision-engineered protective solutions.
From the initial design and tooling phase through pre-expansion, maturing, steam fusion, and finishing, each step requires careful control to achieve the lightweight, durable, and custom-shaped packaging that protects products across countless industries.
If you have any questions regarding EPS/EPP/ETPU molds, please feel free to contact us at Transfoam; we will provide you with the perfect solution.